TL;DR
- Chapter 3 contains two safes – one mandatory (10-20-30) and one optional (21-10-08)
- Chapter 6 features three additional safes with substantial monetary rewards
- Always interact with safes first to trigger code discovery mechanics
- Missed optional safes require replaying entire chapters from beginning
- Strategic approach saves 15-20 minutes per chapter through optimized routing
Discovering hidden safes and deciphering their combinations represents one of the most lucrative side activities throughout your criminal journey in Mafia: The Old Country. While your character will commit numerous questionable acts, pilfering these secured containers provides legitimate financial advancement without crossing moral boundaries that might trouble even the most hardened mobster.
The game features five strategically placed safes distributed between Chapters 3 and 6 of the narrative campaign. Two of these secure containers are mandatory progression elements, while three remain completely optional and easily overlooked during initial playthroughs. Each successful safe crack typically yields several hundred dinari—substantial funds that can dramatically accelerate your acquisition of premium vehicles, equestrian transportation, and fashionable wardrobe upgrades.
Critical warning: Should you bypass any optional safes during your initial chapter progression, retrieving them later necessitates replaying the entire chapter from its commencement. This design choice emphasizes the importance of thorough exploration during your first encounter with each environment.
Chapter 3 – Pizzu contains two distinct safe opportunities with varying accessibility requirements. The initial safe serves as a mandatory story progression element, while the second represents an entirely optional discovery that many players overlook during their first playthrough.
Mandatory Safe: Lemon Farmer’s Residence
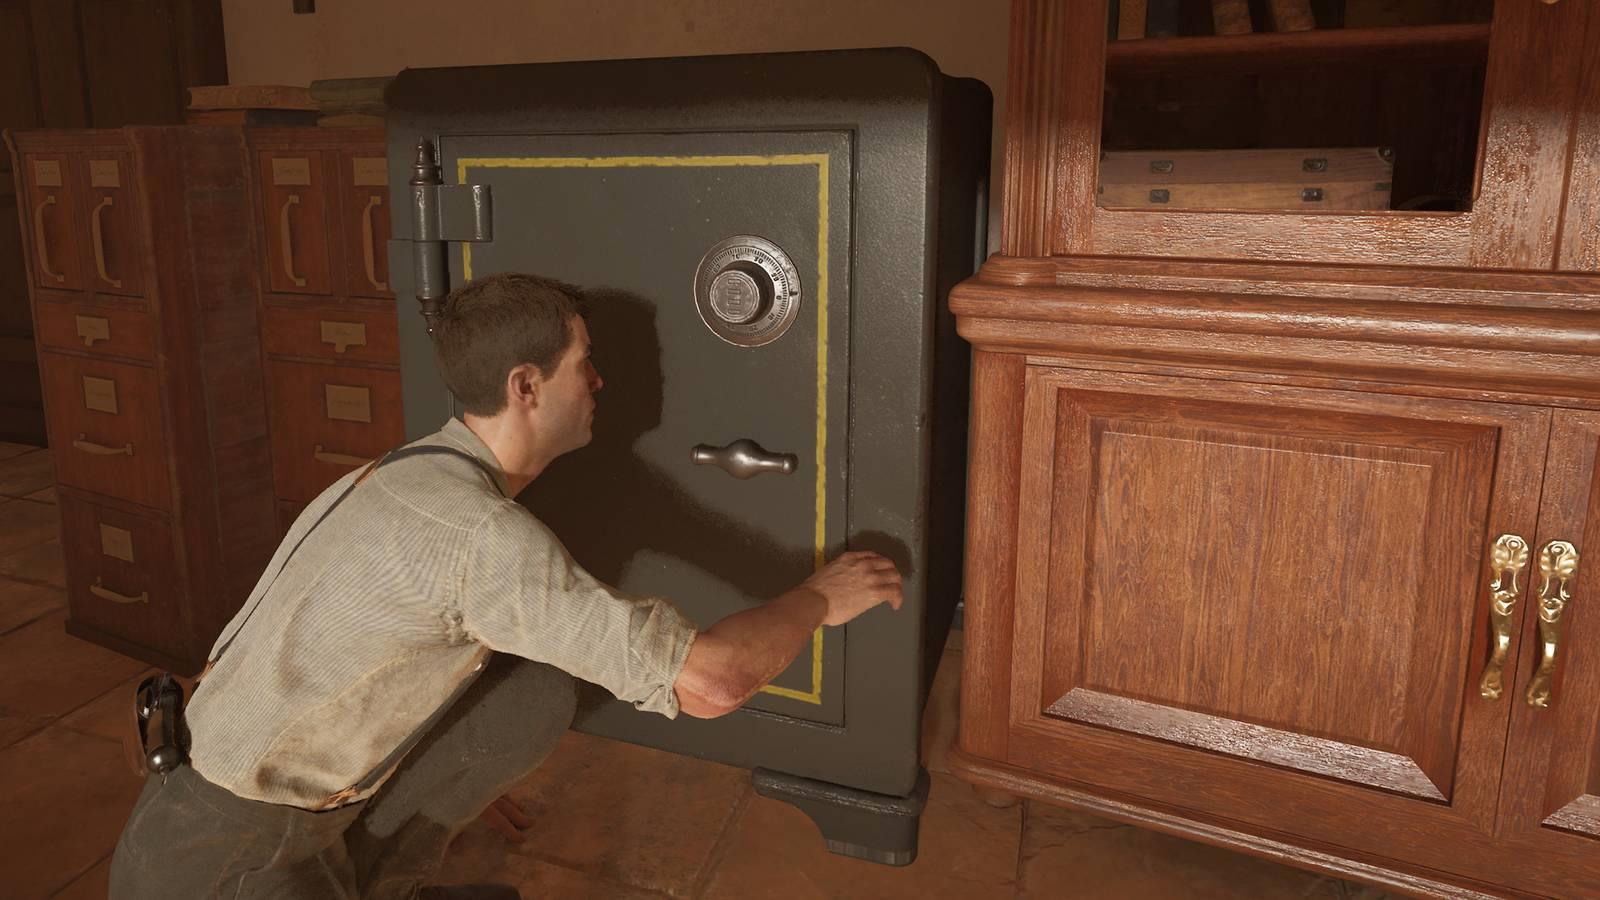
Your first safe encounter occurs within the lemon farmer’s household during the second agricultural property visit alongside Luca and Cesare. After completing the intimidation sequence targeting the property owner, proceed immediately into the chamber located to your left upon entering the main structure.
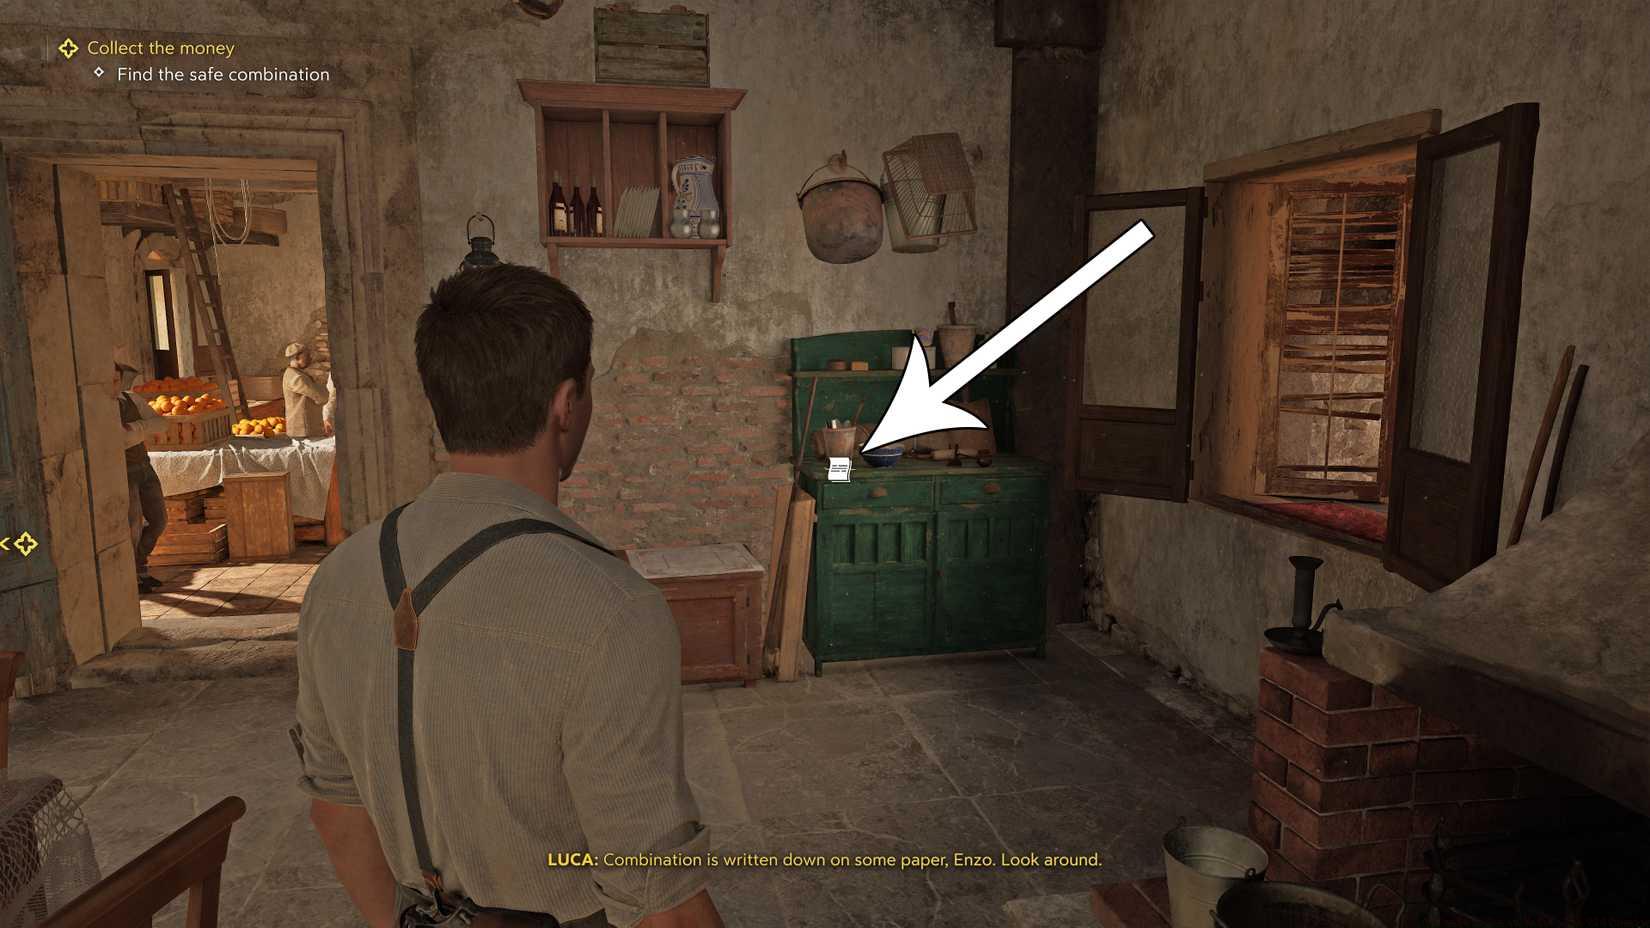
Image: Hangar 13 via Polygon
Critical procedural note: You must initially interact with the safe container positioned along the right wall when entering the room before the code becomes discoverable. This interaction triggers the game’s clue revelation mechanic. Once accomplished, rotate 180 degrees to examine the written note affixed to the green cabinet directly opposite the safe’s location.
The combination for this initial secure container is 10-20-30—a straightforward sequence that nevertheless requires proper activation through the aforementioned interaction sequence.
Optional Safe: Customs Yard Infiltration
During the customs yard infiltration sequence, exercise patience upon entry until two conversing guards conclude their dialogue and disperse. Progress forward through the compound until you encounter a critical path decision point: a primary gate to your right (advancing the main narrative) versus an alternative passage to your left (containing the optional safe).
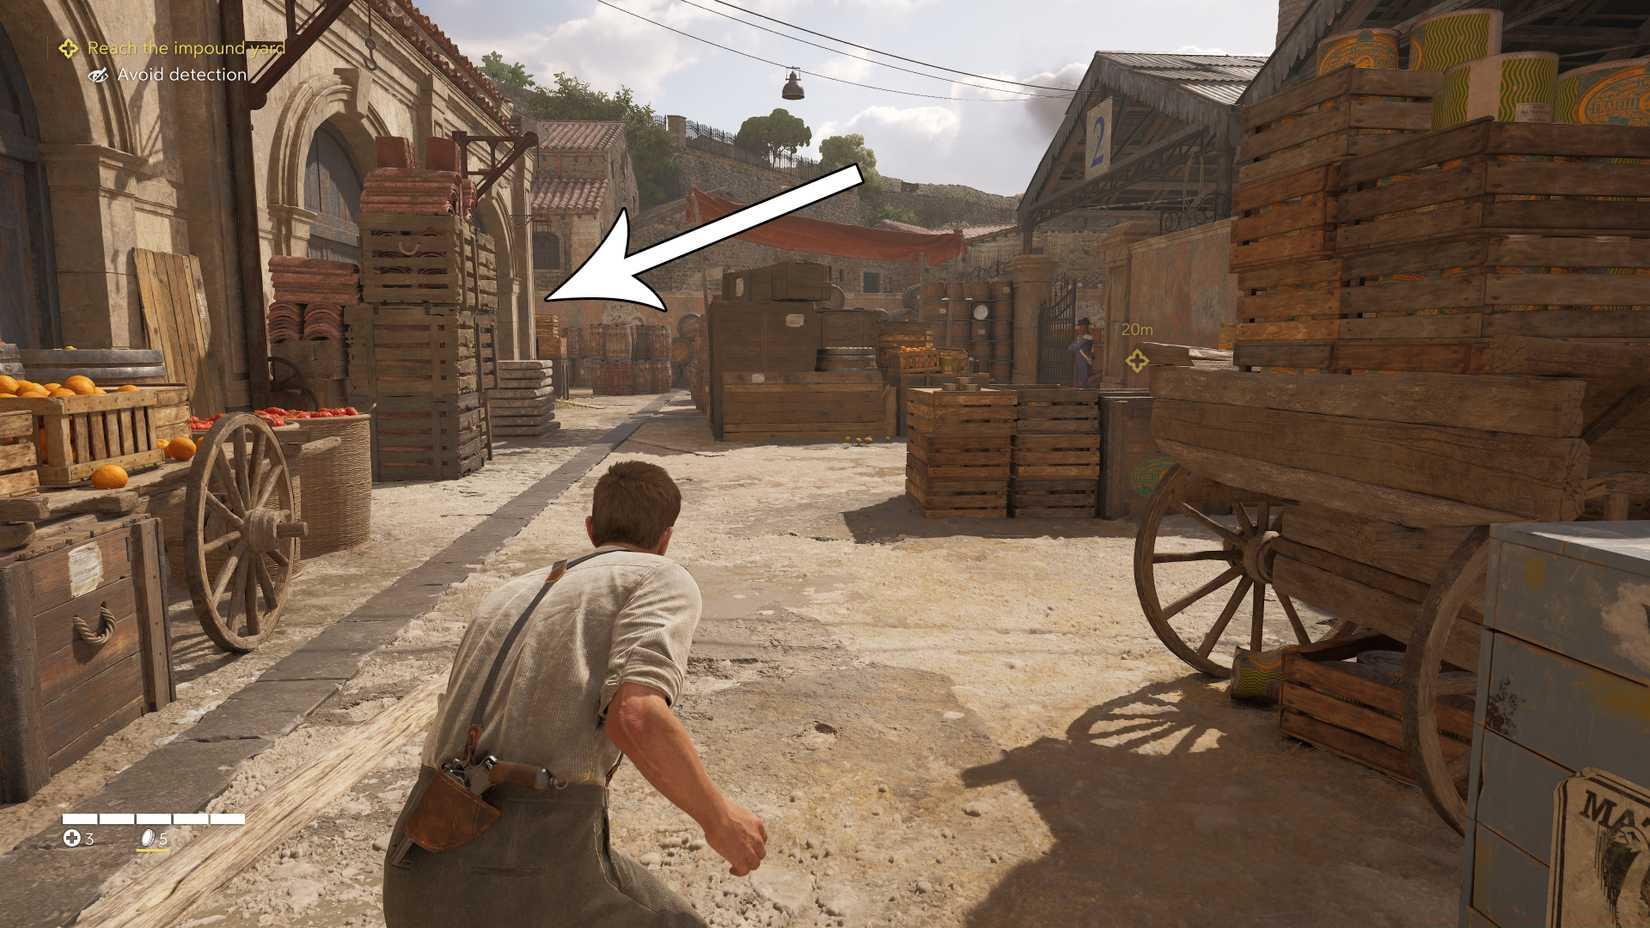
Image: Hangar 13 via Polygon
Select the leftward path and advance to its terminus, then enter the doorway on your left (maintaining awareness of patrol patterns to avoid detection). The safe occupies this secondary chamber, with its combination recorded on documentation resting atop the dresser along the room’s left perimeter.
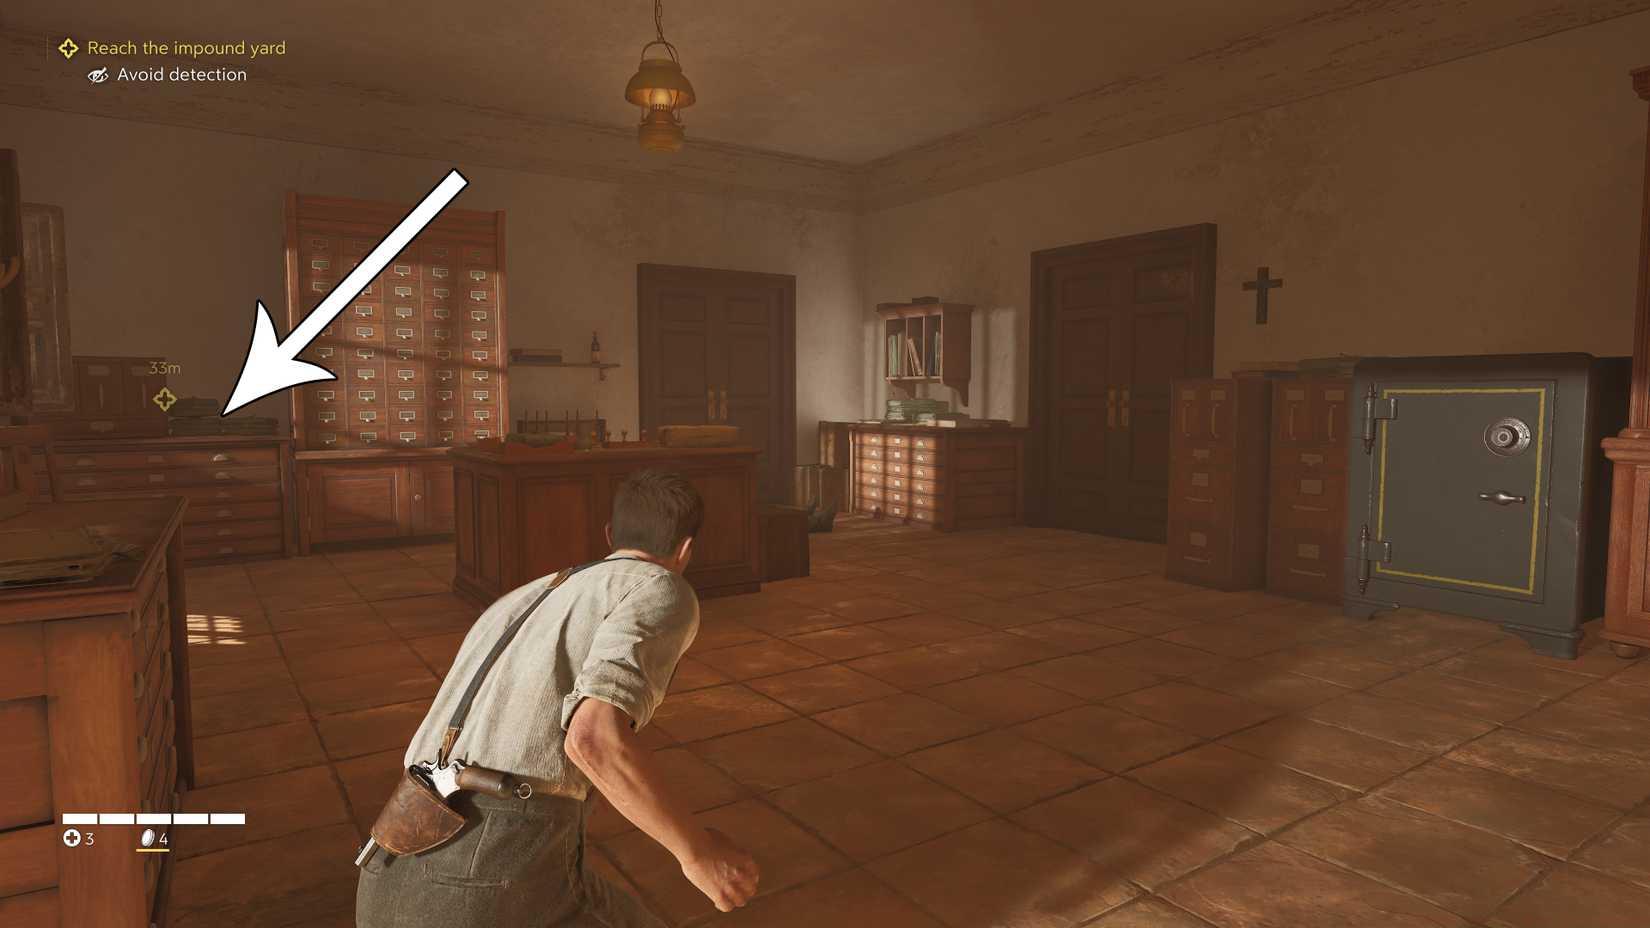
Image: Hangar 13 via Polygon
This secondary safe’s unlocking sequence is 21-10-08. Professional tip: Complete this optional objective before triggering any alarm conditions within the customs yard, as heightened security states may impede safe access.
Chapter 6 introduces three additional safe opportunities that substantially increase your financial acquisition potential. These containers typically contain enhanced monetary rewards compared to their Chapter 3 counterparts, making them particularly valuable for players seeking optimal economic advancement.
Third Safe Location Strategy
The initial Chapter 6 safe requires navigation through the industrial district during the nighttime sequence. After bypassing the initial security checkpoint, proceed to the second warehouse on your right. The safe is concealed behind crates in the northwest corner, with its combination written on a shipping manifest on the foreman’s desk.
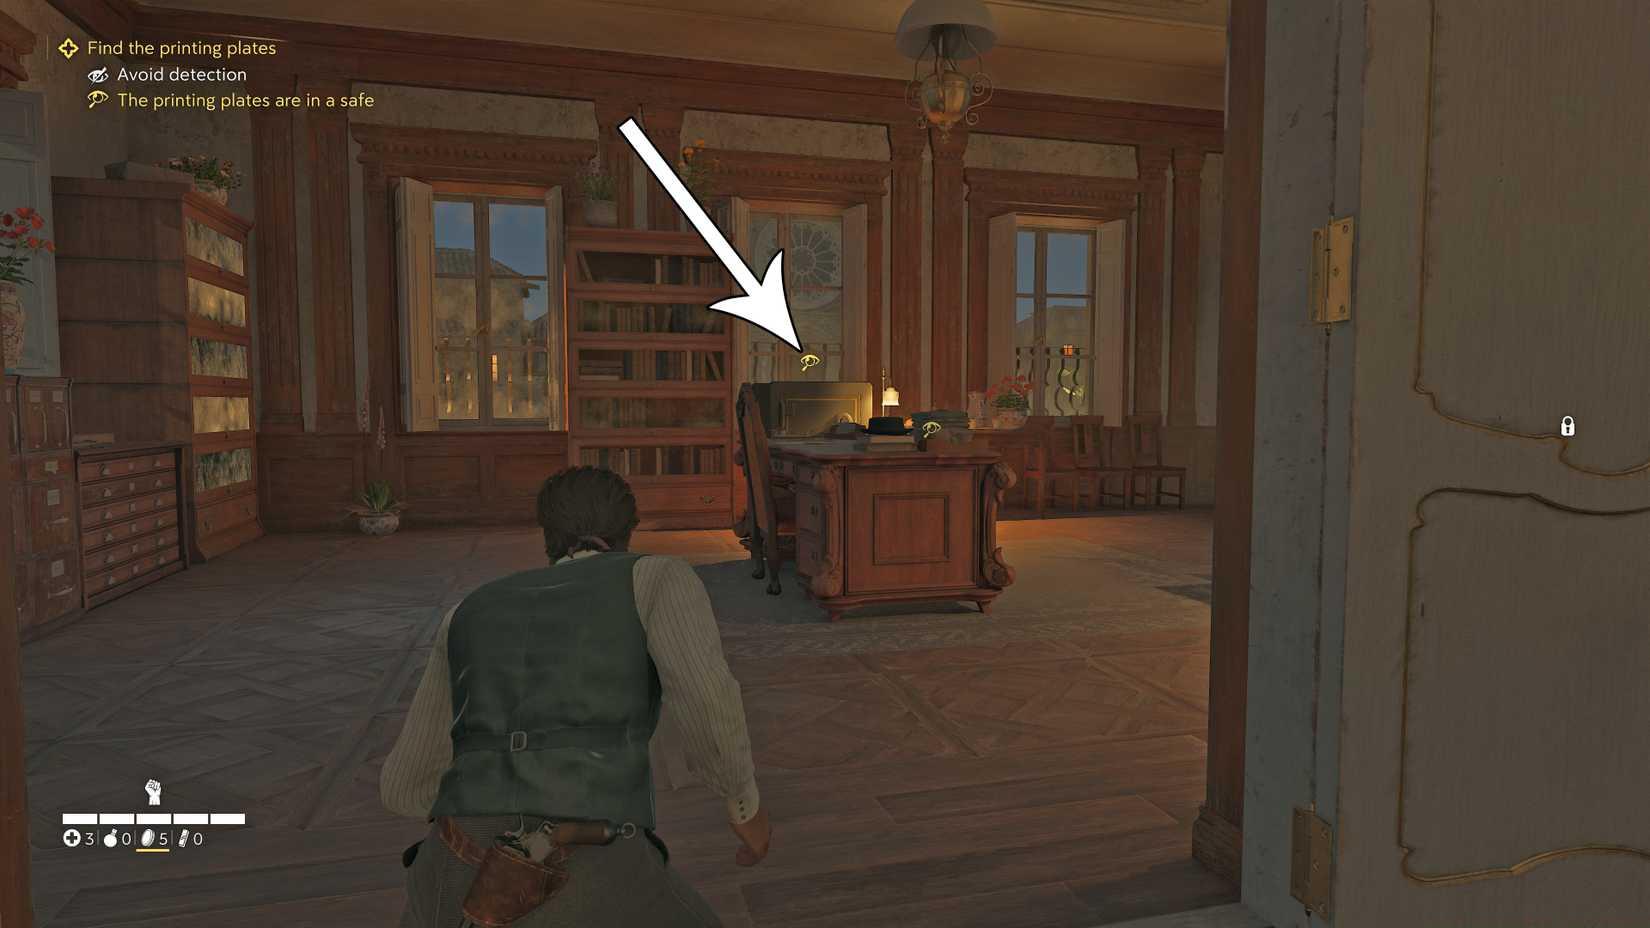
Image: Hangar 13 via Polygon
Fourth Safe Acquisition Method
During the vineyard infiltration mission, deviate from the primary path after neutralizing the first guard patrol. Circle around the main production building to locate a secondary storage shed. The safe inside requires interaction before the code becomes visible on a vintage wine ledger atop a barrel stack.
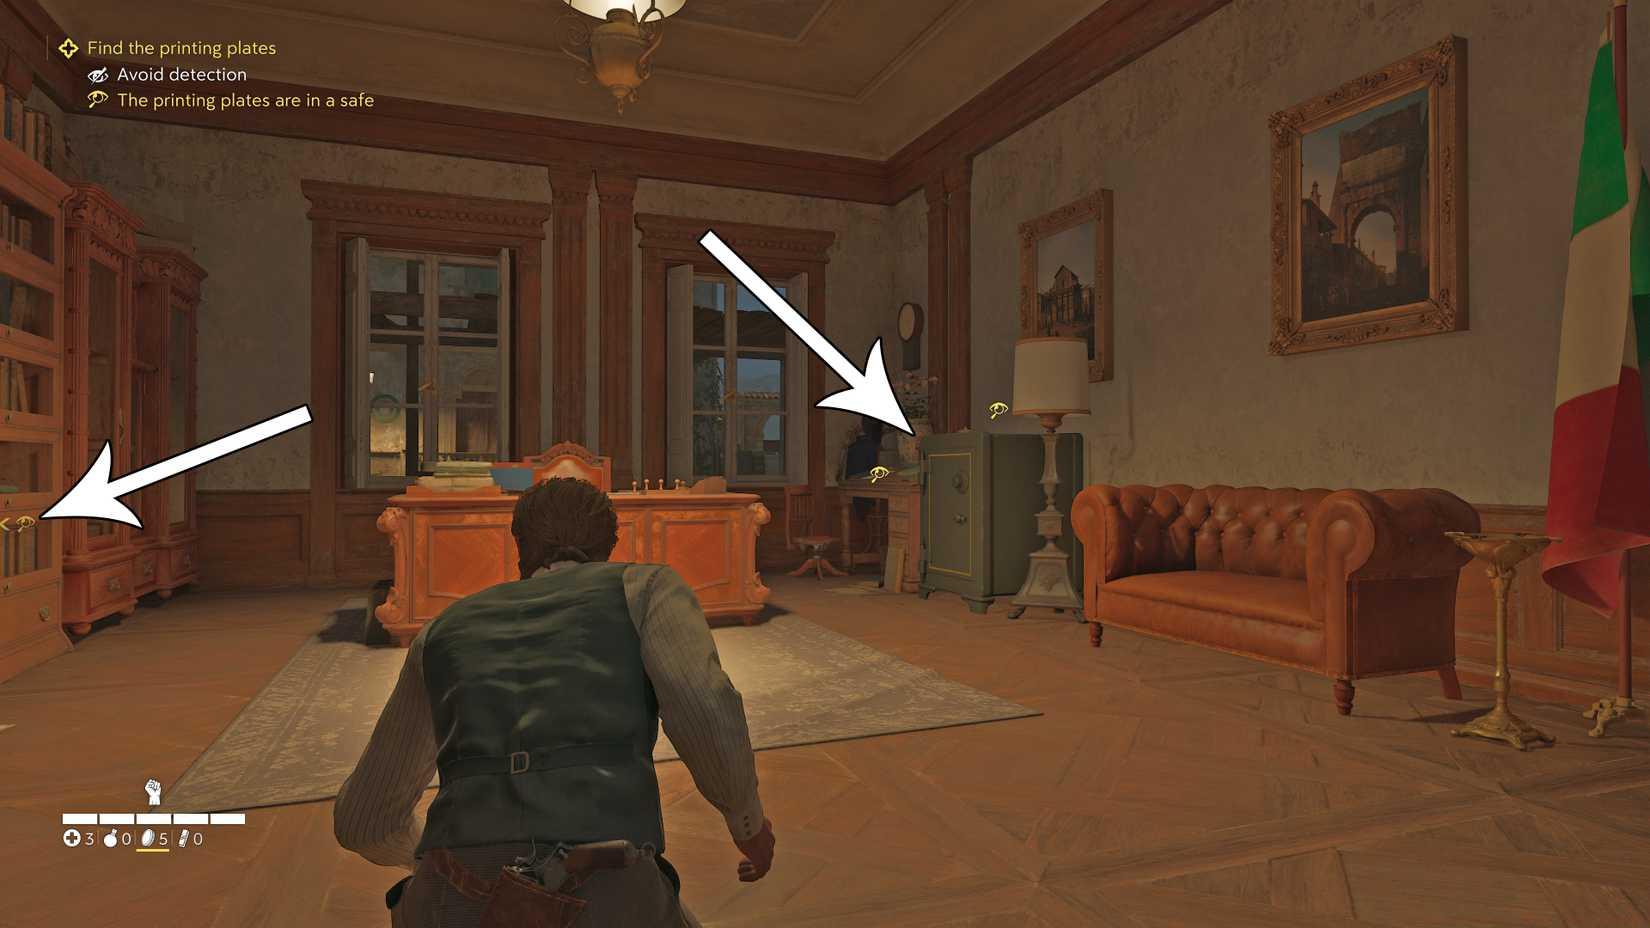
Image: Hangar 13 via Polygon
Fifth Safe Final Opportunity
The concluding safe appears during the dockside confrontation sequence. While your companions engage enemies frontally, slip around the eastern perimeter to access the harbormaster’s office. This safe contains the chapter’s most substantial monetary reward, with its code documented in port authority paperwork on the wall-mounted bulletin board.

Image: Hangar 13 via Polygon
Advanced tactical consideration: Chapter 6 safes typically yield 400-600 dinari each, representing a 50-100% increase over Chapter 3 rewards. This economic escalation makes thorough exploration particularly valuable during later game stages when premium item costs substantially increase.
Mastering safe acquisition requires understanding both mechanical execution and strategic planning. These professional techniques will optimize your efficiency while avoiding common errors that cost players substantial time and resources.
Stealth and Timing Optimization
Always prioritize safe retrieval before triggering primary mission objectives in any area. Once key narrative events activate, enemy patrol patterns often intensify and safe access may become impossible. In the customs yard specifically, complete the optional safe before interacting with the main gate control mechanism.
Interaction Sequence Protocol
The game requires physical interaction with each safe before clue revelation occurs. This mechanic consistently applies across all five safes—failure to initially approach and activate the safe interface prevents code documentation from spawning in the environment. Many players waste minutes searching for non-existent clues because they overlooked this fundamental step.
Common Player Errors
The most frequent mistakes include: proceeding too rapidly through narrative triggers before exploring side areas, neglecting to thoroughly examine all documentation in safe proximity, and assuming all clues follow identical discovery patterns. Remember that clue placement varies—some appear on furniture, others on walls, and some within interactive documents.
Efficiency Techniques
Strategic safe hunting can reduce chapter completion time by 15-20 minutes through optimized routing. In Chapter 3, complete the lemon farmer safe during the mandatory story progression, then immediately divert to the customs yard safe before advancing the primary objective. In Chapter 6, methodically collect all three safes during initial area exploration before triggering any main mission milestones.
For comprehensive gameplay strategies beyond safe locations, consult our Complete Guide covering all aspects of game mastery. Weapon enthusiasts should reference our detailed Weapons Unlock guide, while those optimizing character capabilities will benefit from our Class Guide for strategic role selection.
Action Checklist
- Chapter 3 – Complete lemon farmer safe (10-20-30) during story progression
- Chapter 3 – Infiltrate customs yard, take left path for optional safe (21-10-08)
- Chapter 6 – Secure industrial district safe before triggering checkpoints
- Chapter 6 – Retrieve vineyard safe via perimeter approach
- Chapter 6 – Acquire dockside safe during frontal distraction
No reproduction without permission:Game Guides » All safe codes in Mafia: The Old Country Complete guide to finding all safes and codes in Mafia: The Old Country Chapters 3 and 6 with expert strategies