TL;DR
- Comprehensive interactive maps for all four Black Ops 7 Zombies locations with real-time updates
- Detailed strategies for dealing with unique map mechanics and elite enemies like Oscar
- Pro tips for optimizing perk machine usage and mystery box acquisition timing
- Essential survival techniques for both solo players and coordinated teams
- Regular content updates including easter egg discoveries and new tactical insights
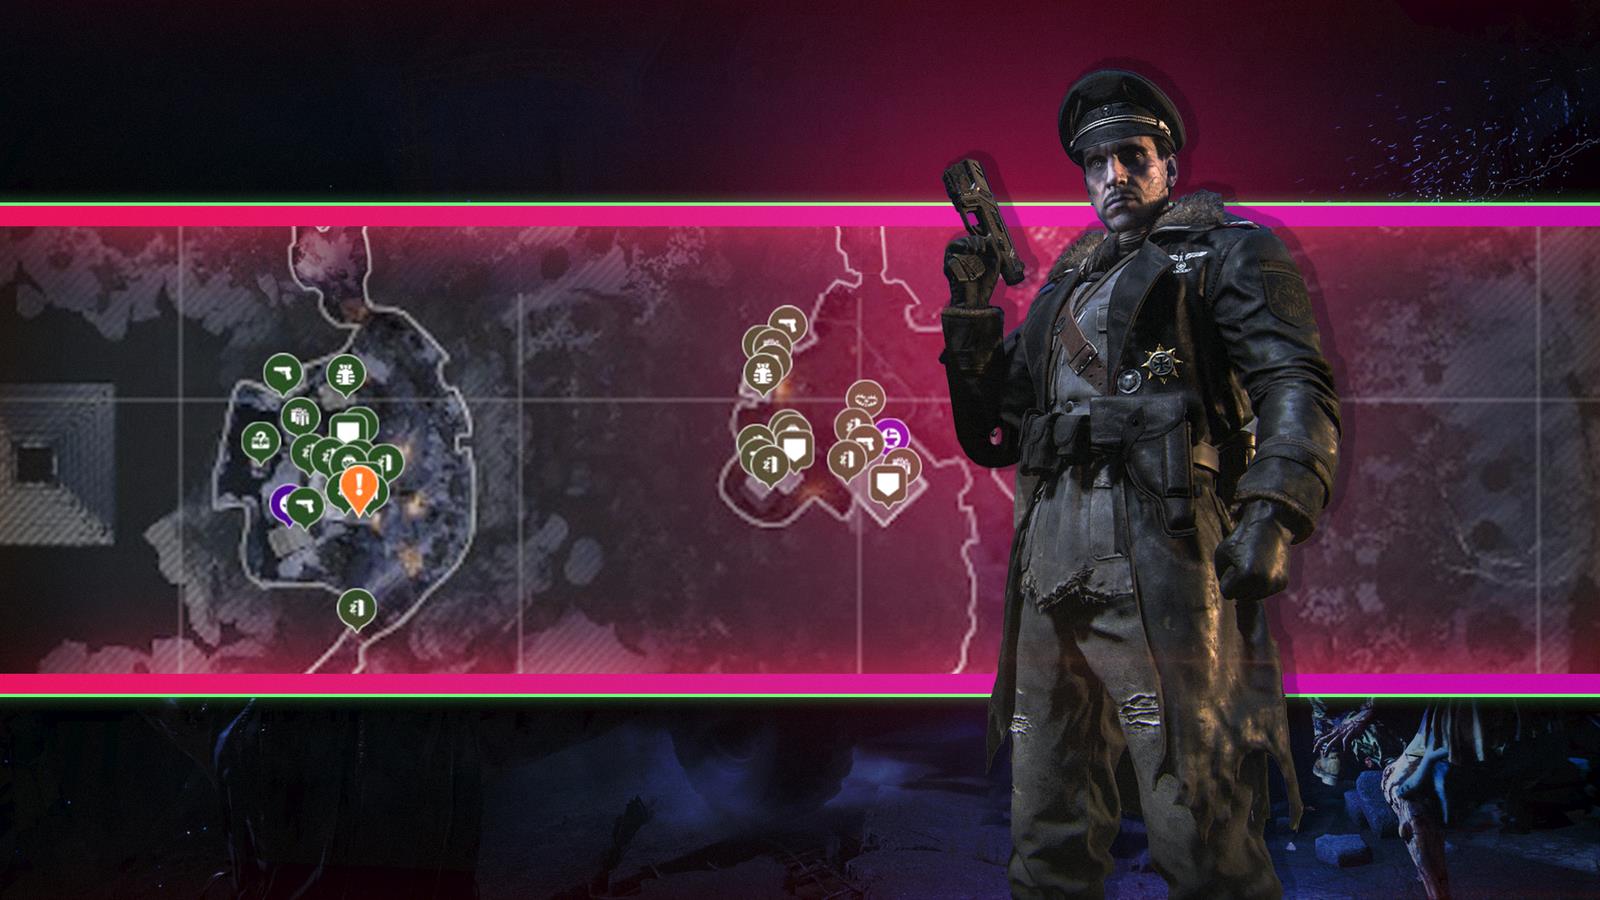
Mastering the intricate layouts of Call of Duty: Black Ops 7’s Zombies mode requires comprehensive mapping and strategic planning. Our detailed interactive guides provide real-time navigation assistance across all available combat zones.
Prepare for intense horror encounters and tactical chaos throughout Call of Duty: Black Ops 7‘s Zombies maps, with the standout addition being Astra Malorum. This innovative map brings back fan-favorite characters in an extraordinary setting: deep space combat within a planetarium mysteriously transported inside an asteroid orbiting Saturn.
While Astra Malorum’s extraterrestrial environment may seem disorienting initially, veterans will recognize essential equipment including Perk Machines, strategic traps, the unpredictable mystery box, and powerful gobblegum enhancements. Advanced players should exercise extreme caution when activating the Pack-a-Punch Machine, as this triggers the arrival of Oscar – a formidable elite mini-boss requiring coordinated team tactics to defeat efficiently.
Beyond the cosmic challenges of Astra Malorum, our interactive mapping system covers Ashes of the Damned and its interconnected locations: Vandorn Farm and Exit 115. These resources remain continuously updated as we uncover new strategic positions and decode mysterious easter eggs. Our December 12th expansion introduced comprehensive mapping for both Exit 115 and Astra Malorum, with regular content enhancements planned.
Explore our complete collection of Call of Duty: Black Ops 7 Zombies interactive maps below.
The Ashes of the Damned environment presents a post-apocalyptic urban landscape filled with strategic choke points and hidden resource caches. This map features multi-level structures that create dynamic combat scenarios requiring vertical awareness.
Key strategic elements include centralized perk machine placements that allow for efficient rotation between combat zones. The mystery box appears in three predetermined locations that cycle every 3-4 rounds, making timing essential for weapon acquisition. New players often underestimate the importance of maintaining escape routes – always keep at least two paths open for emergency retreats when overwhelmed.
Vandorn Farm’s rural setting offers unique tactical challenges with open fields and confined farm structures creating contrasting combat environments. The wide perimeter requires careful zombie spawn management to prevent being surrounded.
This map features strategically placed traps in barn areas that can eliminate entire hordes when used correctly. The Pack-a-Punch machine location requires defending an exposed position, making team coordination essential. Common mistakes include overextending into open fields without fallback positions and neglecting rooftop sightlines for early threat detection.
Advanced players should master the cornfield navigation paths, which provide cover but can also disorient unprepared teams. The farmhouse basement contains essential wall weapons that remain available throughout the match, providing reliable fallback options when the mystery box proves uncooperative.
Exit 115 recreates an abandoned highway interchange with multi-level parking structures and underground passages. The complex verticality creates both strategic advantages and potential ambush points requiring constant situational awareness.
This urban environment features tight corridors ideal for training zombies alongside open areas perfect for long-range engagements. The map’s pack-a-punch machine activation requires completing a multi-step process involving control point captures, making early-round preparation critical. Teams should designate specific members for objective completion while others handle zombie containment.
Pro tactics include utilizing the elevated highway sections for overwatch positions and mastering the underground tunnel system for quick rotations between map sectors. The emergency vehicle barriers can be activated to create temporary choke points, providing breathing room during intense rounds.
Astra Malorum’s space station environment introduces zero-gravity combat zones and planetary observation decks that fundamentally change movement and engagement tactics. The reduced gravity areas allow for elevated positioning but reduce maneuverability during firefights.
The planetarium centerpiece serves as both a strategic strongpoint and the primary pack-a-punch activation zone. Successfully upgrading weapons triggers Oscar’s appearance – this elite mini-boss utilizes teleportation attacks and area-denial abilities that require coordinated team focus fire. Recommended strategies include designating one player as bait while others attack from protected positions.
Unique to this map are environmental hazards including asteroid impacts that temporarily reshape combat zones and oxygen-deprived sections requiring timed rotations. The mystery box locations correlate with planetary alignment events visible in the planetarium dome, providing predictable acquisition opportunities for observant players.
Mastering Black Ops 7 Zombies requires going beyond basic survival tactics. Team composition should balance defensive holders, objective specialists, and high-damage dealers for optimal performance across all maps.
Resource management proves critical – prioritize perk acquisitions based on your team’s composition and the specific map challenges. Juggernog should typically be obtained first on higher difficulties, while Speed Cola becomes essential when using slow-reloading weapons. The timing of mystery box usage should align with round progression, typically between rounds 5-8 for maximum efficiency.
Advanced communication techniques include designating specific callouts for trap activations, pack-a-punch rotations, and emergency fallback positions. Teams that master these coordinated movements can efficiently handle the increasingly difficult zombie hordes while completing complex easter egg objectives.
For comprehensive weapon loadout strategies, consult our BF6 Weapons Unlock Guide to understand damage profiles and attachment synergies that translate well to zombie combat scenarios.
Action Checklist
- Study each map’s choke points and escape routes before playing
- Practice zombie training techniques in low-round sessions
- Master pack-a-punch activation sequences for each map
- Develop team communication protocols for boss encounters
- Experiment with different perk combinations for various playstyles
No reproduction without permission:Game Guides » Call of Duty: Black Ops 7 Zombies interactive maps Master Call of Duty: Black Ops 7 Zombies maps with detailed interactive guides and expert survival strategies