TL;DR
- Fletcher Kane spawns at vaults marked with wolf icons and requires thermite to access
- Break his shield first then target headshots during howling animations for maximum damage
- Prepare for PvP threats by eliminating nearby players before engaging the boss
- Use his frenzied state to your advantage – he’s vulnerable while using sonar abilities
- Rewards include the powerful Double Down Pistol and Unstoppable Medallion for permanent benefits
Mastering the Fletcher Kane encounter requires understanding his dual role as both a seasonal boss and available battle pass cosmetic. This formidable opponent employs dynamic spawn mechanics that challenge even experienced players, appearing randomly across the island’s vault locations rather than fixed positions.
Fletcher Kane represents one of two primary boss encounters in Fortnite Chapter 6 Season 2, serving as both a combat challenge and progression milestone. His appearance isn’t guaranteed at any single location – instead, he rotates between vaults using a weighted probability system that experienced players can learn to predict. Understanding these spawn patterns separates successful hunters from those who waste valuable match time.
Below we detail comprehensive strategies for locating Fletcher Kane’s current position and executing flawless combat tactics to secure his valuable loot drops.
Successful Fletcher Kane encounters begin with precise location intelligence. The wolf boss occupies various vaults scattered across the island, with only one active location per match marked by distinctive wolf head icons on your map and minimap.
Kane selects his deployment point from the available vault network at match start. You can immediately identify his chosen location through the prominent wolf emblem overlay, allowing strategic drop planning if you’re specifically hunting him. These icons appear during the pre-game lobby phase, giving alert players crucial intelligence before the battle bus even launches.
Critical preparation note: you must acquire thermite equipment before attempting vault entry. This specialized explosive is essential for breaching the reinforced doors protecting Kane’s temporary headquarters. After detonating the thermite charge, expect immediate resistance from his security team before the boss himself emerges.
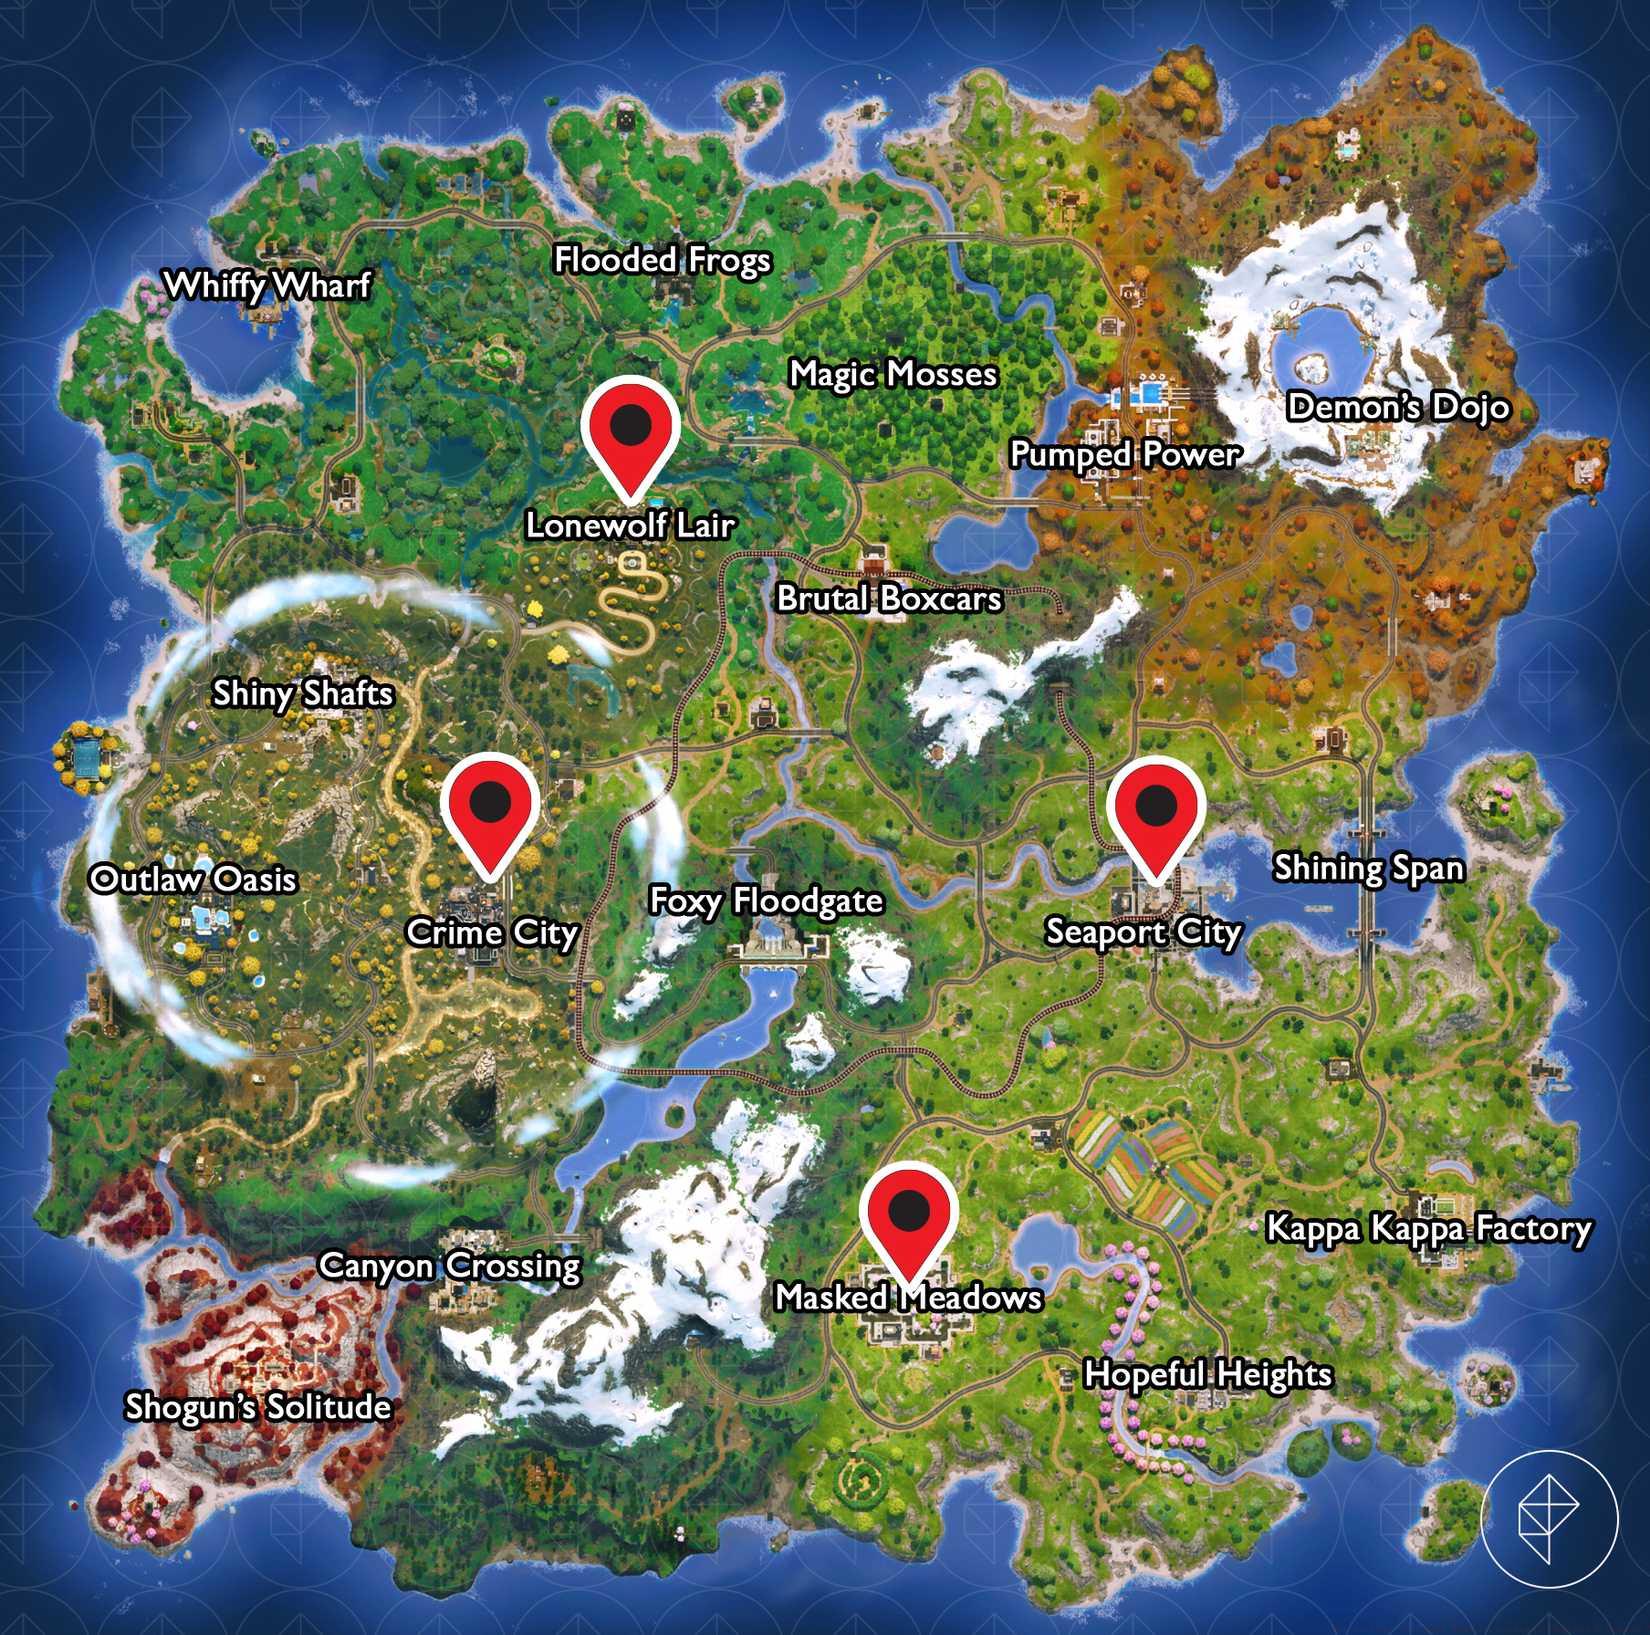
Image: Julia Lee/Polygon | Source images: Epic Games
Study the vault map carefully to plan your approach routes. Optimal strategy involves landing at nearby points to gather thermite and basic weapons before pushing the marked location, rather than risking an immediate vault drop where you might face better-equipped opponents.
Fletcher Kane employs a two-phase combat pattern that skilled players can exploit for quick eliminations. While he lacks complex mechanics found in some previous seasonal bosses, his raw durability and supporting units demand disciplined engagement tactics.
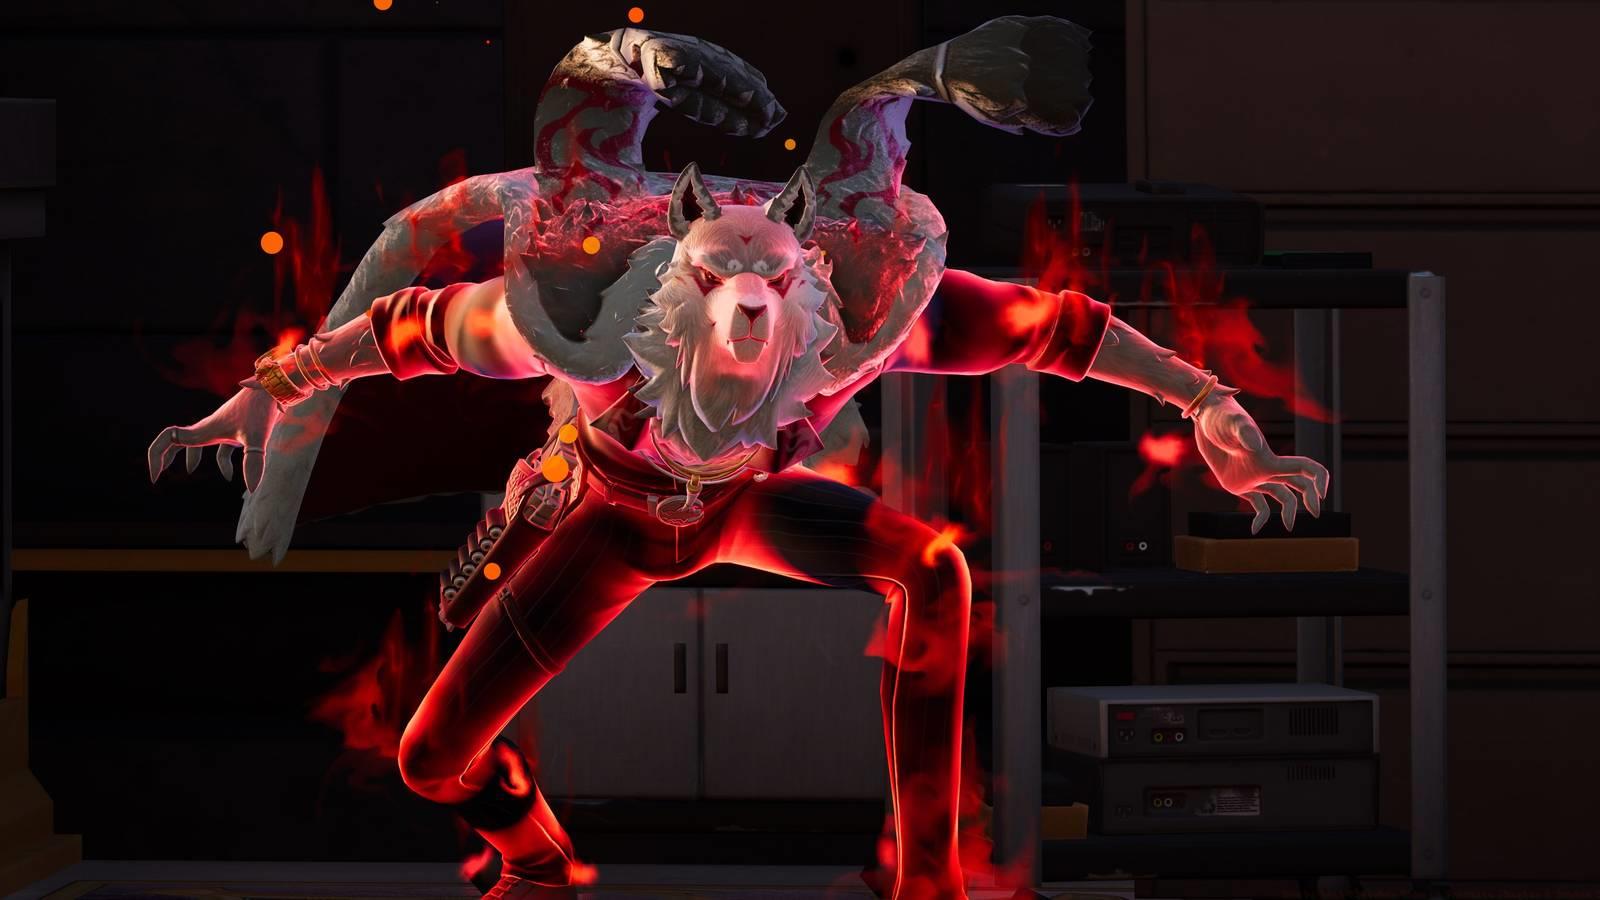
The initial engagement requires focused fire to dismantle his protective shield. Prioritize headshot accuracy during this phase since critical hits deal approximately 150% damage compared to body shots. Once his shield integrity fails, Kane undergoes a dramatic transformation – his body glows with intense crimson energy as he enters an enraged state.
During this frenzied phase, he periodically unleashes wolf-like howls that activate a sonar detection system revealing nearby player positions. Rather than retreating during these audio cues, recognize them as prime damage windows. The howling animation locks him in place for 2-3 seconds, creating perfect opportunities for uninterrupted fire without retaliation.
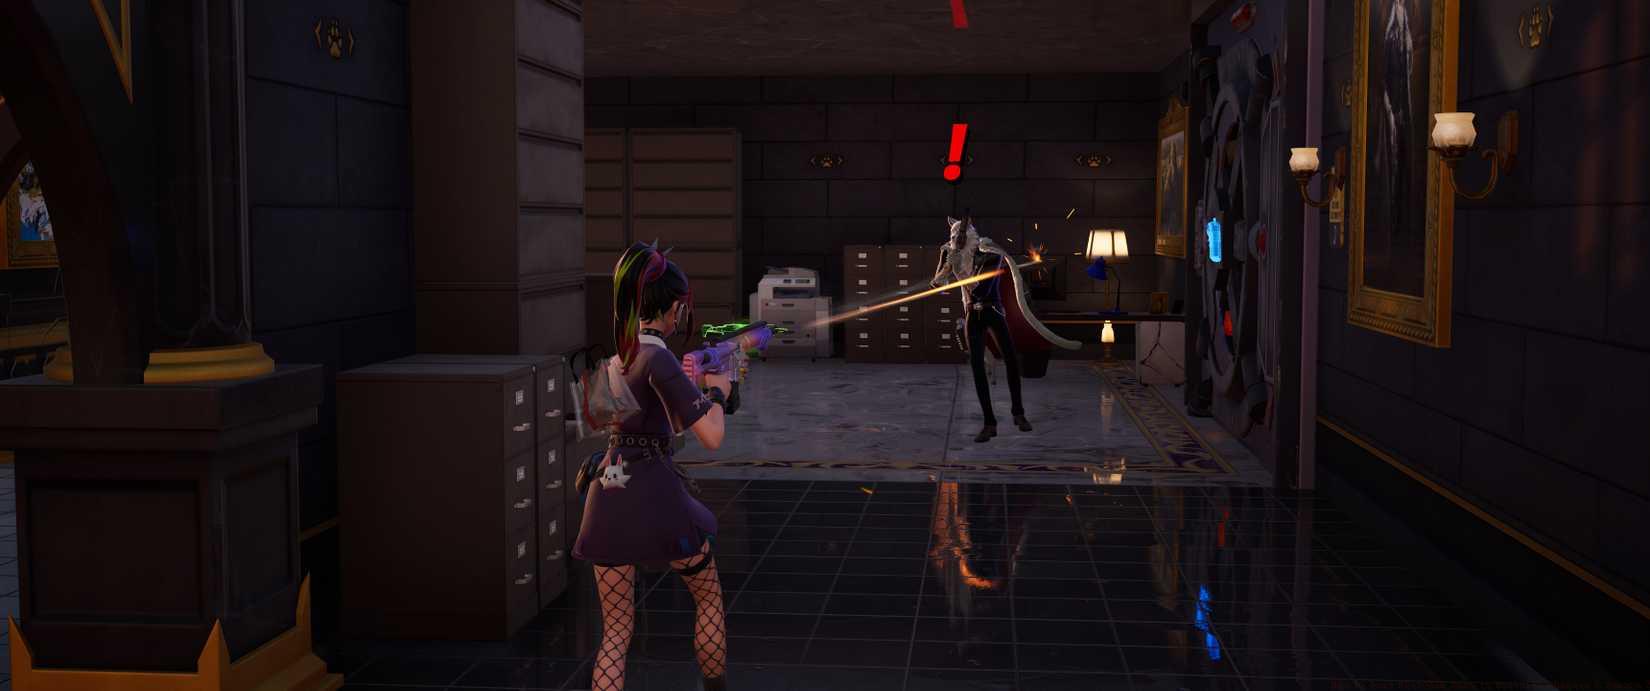
Image: Epic Games via Polygon
Advanced tactic: Position yourself near vault entrance cover before triggering the fight. This allows quick retreat if third-party threats arrive mid-engagement. The vault structure itself provides excellent sightlines while limiting angles opponents can use against you.
The greatest danger in Fletcher Kane encounters often comes from rival squads rather than the boss himself. High-value targets attract competition, making situational awareness more crucial than pure combat skills against the AI opponent.
We strongly recommend implementing a clear priority system: eliminate nearby player threats before fully committing to the boss engagement. Drop zones should be selected based on proximity to the marked vault but with sufficient distance to gather resources uncontested. Secure basic weapons, shields, and healing items before advancing toward the primary objective.
Always maintain an escape route plan when engaging Kane. Other teams will naturally gravitate toward the ongoing firefight, hoping to eliminate weakened survivors after the boss falls. Position yourself with cover against external threats while damaging Kane, and be prepared to disengage if multiple teams converge on your location.
For squad play, designate one member as lookout while others focus the boss. This spotter should monitor approaches and call out rotations, allowing the team to either secure the area or retreat before being overwhelmed. The Unstoppable Medallion’s constant visibility to other players makes post-fight extraction particularly dangerous without proper planning.
Successfully defeating Fletcher Kane grants two exclusive rewards that provide significant gameplay advantages throughout the remainder of your match. Understanding these items’ capabilities ensures you maximize their strategic value.
The Fletcher Kane’s Double Down Pistol delivers exceptional close-to-mid range performance with its unique dual-shot mechanism. This weapon fires two rounds simultaneously with moderate spread, effectively doubling damage output compared to standard pistols. Its rapid fire rate and quick reload make it ideal for finishing wounded opponents or breaking structures efficiently.
More significantly, the Unstoppable Medallion provides continuous shield regeneration throughout the match. This passive effect constantly replenishes your shield bar at approximately 1HP per second, reducing your reliance on shield consumables and providing sustained durability during extended engagements. However, remember that medallion carriers appear on enemy minimaps within a 50-meter radius, creating strategic trade-offs.
These rewards remain in your inventory until elimination, making them worth substantial risk. The medallion’s regeneration alone can save multiple inventory slots normally dedicated to shield pots, while the Double Down Pistol often outperforms epic-tier weapons in specific combat scenarios.
Action Checklist
- Scan map for wolf head icon during pre-game lobby to identify Kane’s vault location
- Land near but not directly on vault to gather thermite and basic weapons safely
- Eliminate nearby players before engaging Kane to reduce third-party threats
- Use thermite on vault door and defeat Kane’s guards before he spawns
- Focus headshots during shield phase, then maximize damage during howling animations
- Secure rewards and immediately prepare for PvP threats attracted by medallion visibility
No reproduction without permission:Game Guides » How to beat Fletcher Kane in Fortnite Chapter 6 Season 2 Master Fletcher Kane's boss fight with expert location strategies, combat tactics, and reward optimization in Fortnite Chapter 6 Season 2