TL;DR
- Resolve functions as your Sanctum health bar, completely bypassing character defenses and requiring perfect dodging
- Prioritize Aureus coin accumulation early, then transition to resolve protection in later floors
- Movement speed reductions and flask-use penalties are run-ending and should be avoided at all costs
- Strategic room skipping and early run abandonment can save valuable time on doomed attempts
- Templar Relics provide permanent bonuses between runs and dramatically improve success rates
Games and Esports Articles
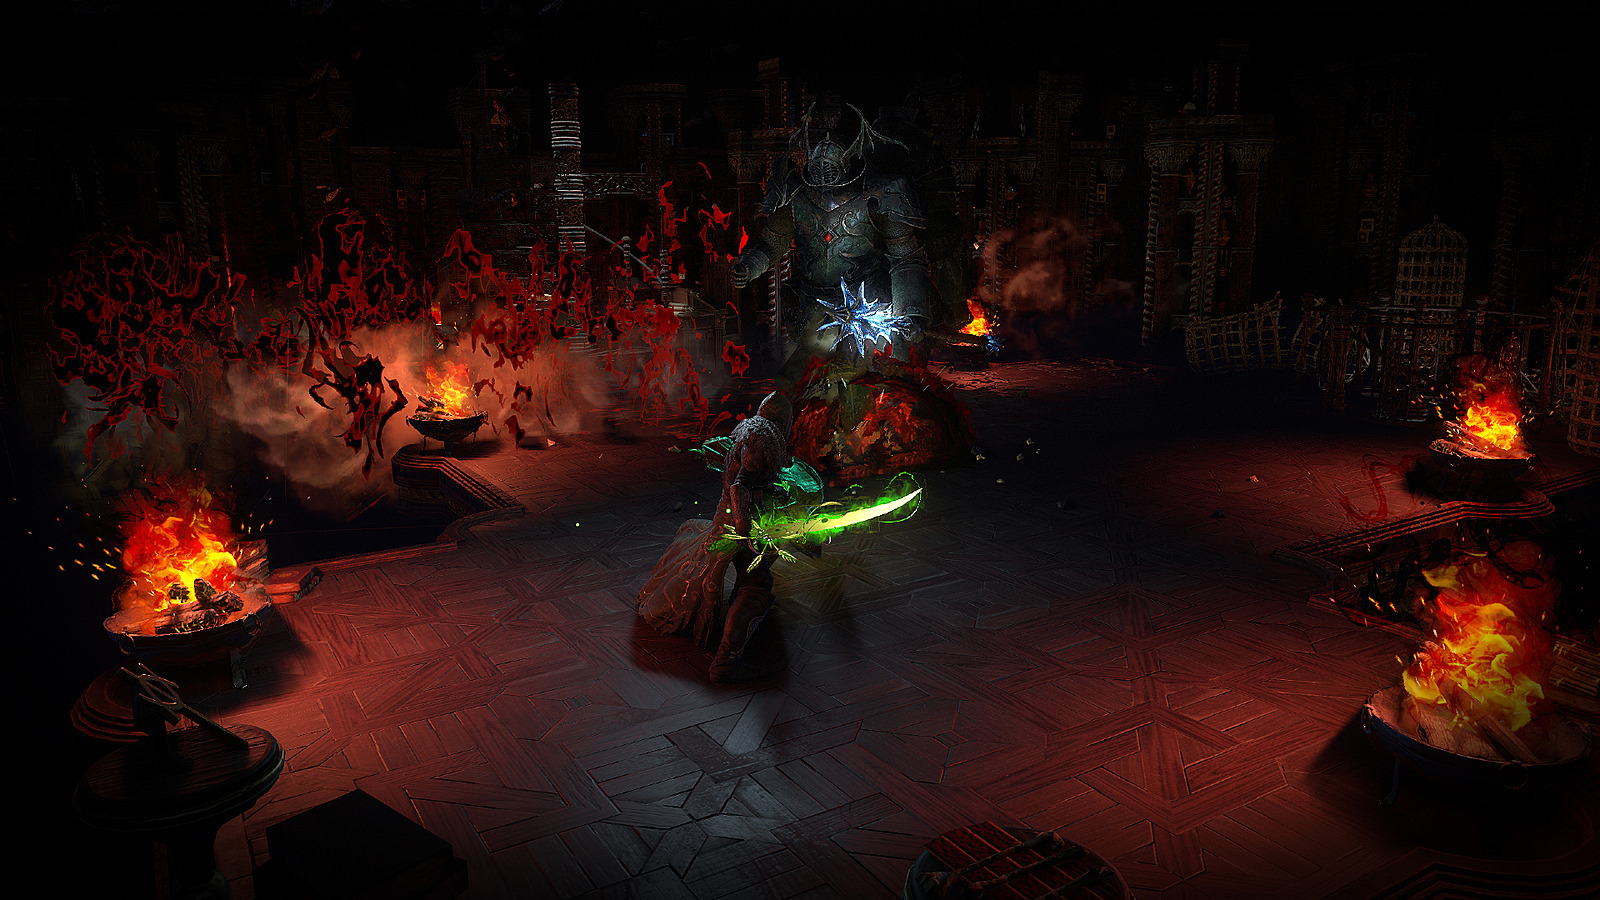
Path of Exile’s Forbidden Sanctum league introduces a challenging rogue-like experience that demands strategic thinking and precise execution. While veterans of the genre will recognize core concepts, several nuanced mechanics require deep understanding to consistently succeed.
The Sanctum’s structure comprises four distinct floors, each containing eight carefully designed rooms. As you progress through campaign areas and maps, you’ll discover new Sanctum rooms that can be saved for later attempts, with a maximum capacity of eight stored rooms. Each floor culminates in a challenging boss encounter that tests your accumulated skills and resources.
Within each chamber, you’ll encounter deadly traps and hostile entities whose attacks directly deplete your primary Sanctum resource—resolve. This critical meter serves as your run’s health bar and completely ignores your character’s defensive layers. Successful navigation requires meticulous dodging and environmental awareness, as even minor hits can quickly accumulate into failure. Strategic fountain locations provide limited resolve restoration opportunities throughout your expedition.
Defeating enemies and looting containers rewards you with Aureus coins, temporary currency that vanishes upon run completion. These coins enable purchases from the Merchant, who appears as a room reward and offers resolve restoration services and powerful Boons that persist throughout your entire Sanctum attempt.
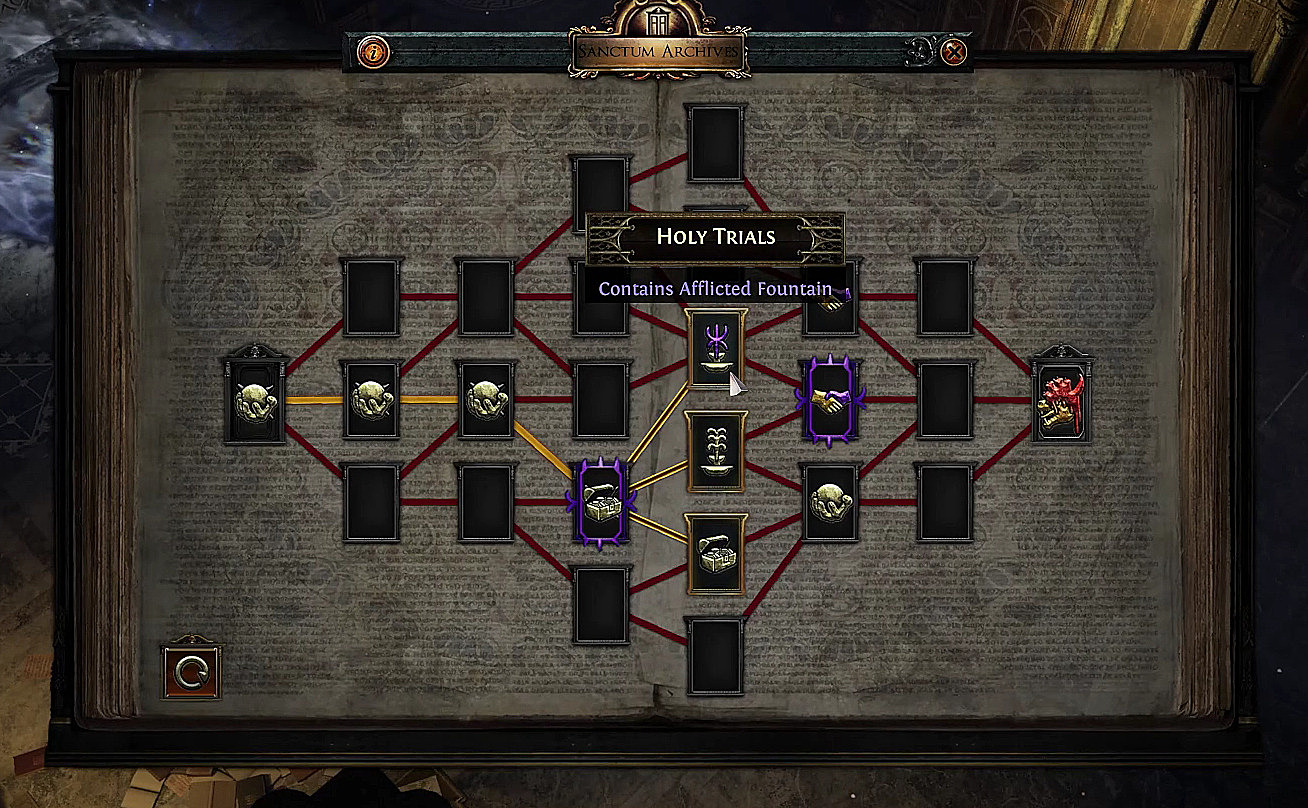
Afflictions represent the primary risk mechanism, applying persistent negative effects that can rapidly deteriorate your run’s viability. These debuffs typically appear during room selection, allowing for strategic avoidance. Particularly dangerous are Afflicted Fountains, which provide substantial resolve recovery at the cost of applying a random Affliction to your character.
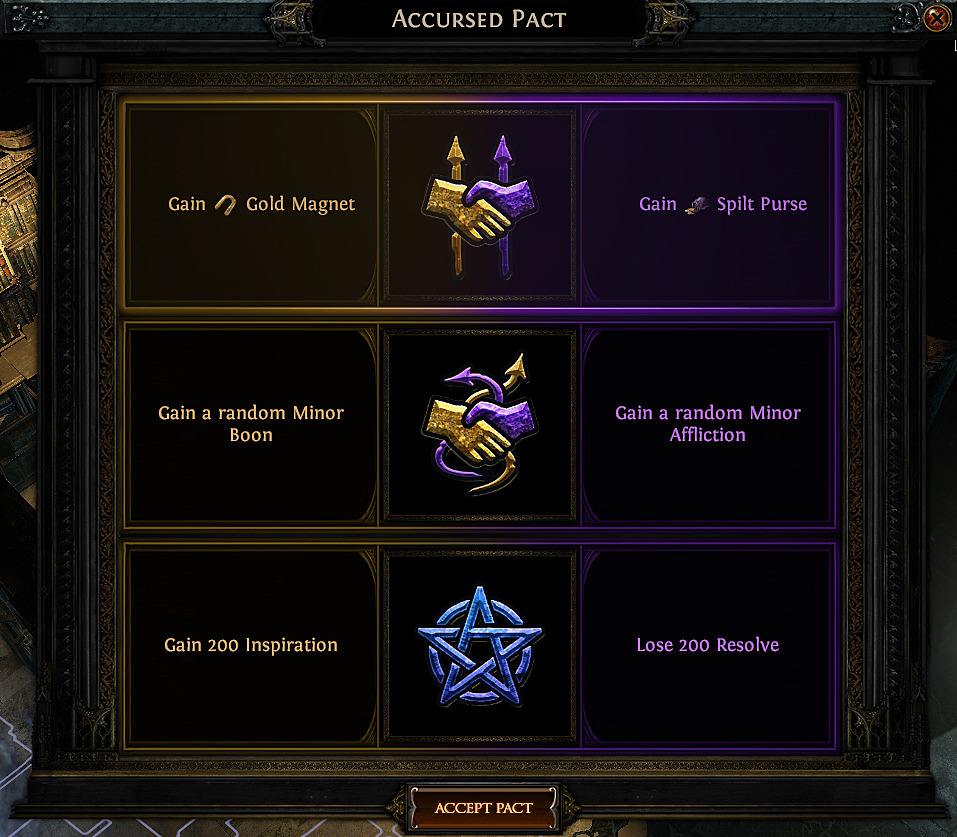
After advancing through Act 7’s campaign content, you’ll unlock access to Accursed Pacts within the Fellshrine Ruins Sanctum. These special encounters present trade-offs with both beneficial and detrimental effects. You may select one, multiple, or decline all offerings. Generally, accepting random Minor Boons in exchange for random Minor Afflictions provides negative expected value.
The Benevolent Fountain offers randomized Boon acquisition for 150 Aureus coins. While potentially useful, these random rewards generally provide inferior value compared to Merchant purchases, where you maintain selection control despite higher costs.
Templar Relics function as permanent upgrades that persist between Sanctum attempts. These powerful items exclusively affect Sanctum gameplay and can be swapped between runs. Unlock this system by discovering a Sanctum in Act 2’s Fellshrine Ruins. Relics drop from boss encounters or appear in Merchant inventories, typically priced between 300-400 coins. They provide substantial buffs, enhanced coin generation, and overall run facilitation.
Mastering Sanctum combat requires understanding nuanced positioning dynamics. While melee builds face additional challenges with the resolve system, maintaining proximity to enemies provides significant tactical advantages. Close-range engagement enables better reaction to telegraphed attacks, particularly against ranged abilities that pose the greatest resolve threat. You can manipulate enemy AI to favor basic attacks over special abilities, though these still require evasion.
Implementing robust crowd control mechanisms dramatically improves survival rates. Powerful stun, chill, or freeze effects can neutralize threats before they damage your resolve. The Temporal Chains curse has gained substantial effectiveness following recent buffs and provides exceptional value. Since monster attacks inflict minimal life damage, replacing defensive auras with offensive alternatives accelerates target elimination. Haste aura deserves special consideration for its dual offensive and defensive benefits.
Audio awareness represents a critical yet often overlooked success factor. Enemy and trap activation sequences feature distinct sound cues, and utilizing these auditory signals significantly enhances reaction capabilities. Attempting Sanctum content without game audio substantially increases difficulty and should be avoided.
Advanced players should develop specific movement patterns: utilize zig-zag motions against projectile attacks, circle-strafe melee enemies, and always maintain escape routes. Practice recognizing attack wind-ups—most dangerous abilities feature 0.8-1.2 second animations before resolving. Consider binding movement to a comfortable key rather than relying solely on mouse clicks for precision positioning.
Developing effective rogue-like strategic approaches begins with understanding economic fundamentals. Early runs should prioritize Treasury room targeting on the first floor while minimizing Affliction accumulation. Establishing this economic foundation enables subsequent run success. After accumulating 300-400+ coins, prioritize locating Merchants, typically appearing in early second-floor rooms. Initial attempts warrant relic acquisition even at the expense of run completion, as these permanent upgrades dramatically improve future attempts. However, over-committing resources carries significant risk, particularly when Merchants lack desirable relic offerings.
Certain Boons provide deceptive value and should be selectively avoided. For instance, “Monsters deal 40% less damage” offers no resolve protection, representing poor coin investment. Always evaluate Boons based on their actual impact on your primary resource rather than secondary benefits.
Room completion efficiency requires strategic decision-making. Full monster clearance isn’t always optimal—sometimes strategic skipping preserves resolve. Target only the unique mini-boss for elimination before proceeding to room completion. This approach proves particularly valuable when navigating toward resolve-restoring fountains with depleted resources. [Important: This strategy has been patched out and no longer functions]
Relic selection strategy favors percentage-based reward enhancements, resolve protection mechanisms, or expanded room visibility. Enhanced information enables superior pathing decisions. When encountering unfavorable floor layouts, utilize the abandon run function located in the floor plan’s bottom-left corner. Recognizing when to cut losses and begin fresh attempts represents advanced strategic thinking.
Economic management requires careful Affliction evaluation. While “Chests no longer drop Aureus coins” or “Lose 30 Aureus coins on room completion” might appear manageable, these effects severely compromise early-game economy building. Reaching a state where you cannot maintain coin reserves due to accumulated Afflictions creates impossible scenarios, as currency-dependent fountains require 5 coins per activation.
Progressive economic strategy involves early coin maximization followed by strategic transition. Initial floors should prioritize currency accumulation to enable Boon and Relic purchases. Once establishing solid relic foundations, shift focus toward resolve protection and Affliction avoidance rather than continued coin prioritization.

Maintaining Aureus coin generation represents the cornerstone of early Sanctum success. Vigilantly avoid effects that substantially reduce coin acquisition. While “Chests no longer drop Aureus coins” or “Lose 30 Aureus coins on room completion” might appear manageable initially, these Afflictions create cascading failures. Reaching critical coin deficiency eliminates access to Merchant offerings and resolve restoration fountains, creating virtually unwinnable situations.
The “losing resolve when using a flask” Affliction presents extreme danger for players with established flask usage patterns. Movement speed reductions dramatically increase difficulty by making evasion nearly impossible. Vision-range impairments severely compromise strategic planning capabilities by limiting forward visibility.
Advanced players should categorize Afflictions by severity: Economy-destroying effects should be avoided entirely during early floors, while resolve-damaging Afflictions become more acceptable risks during later stages with established economic foundations.
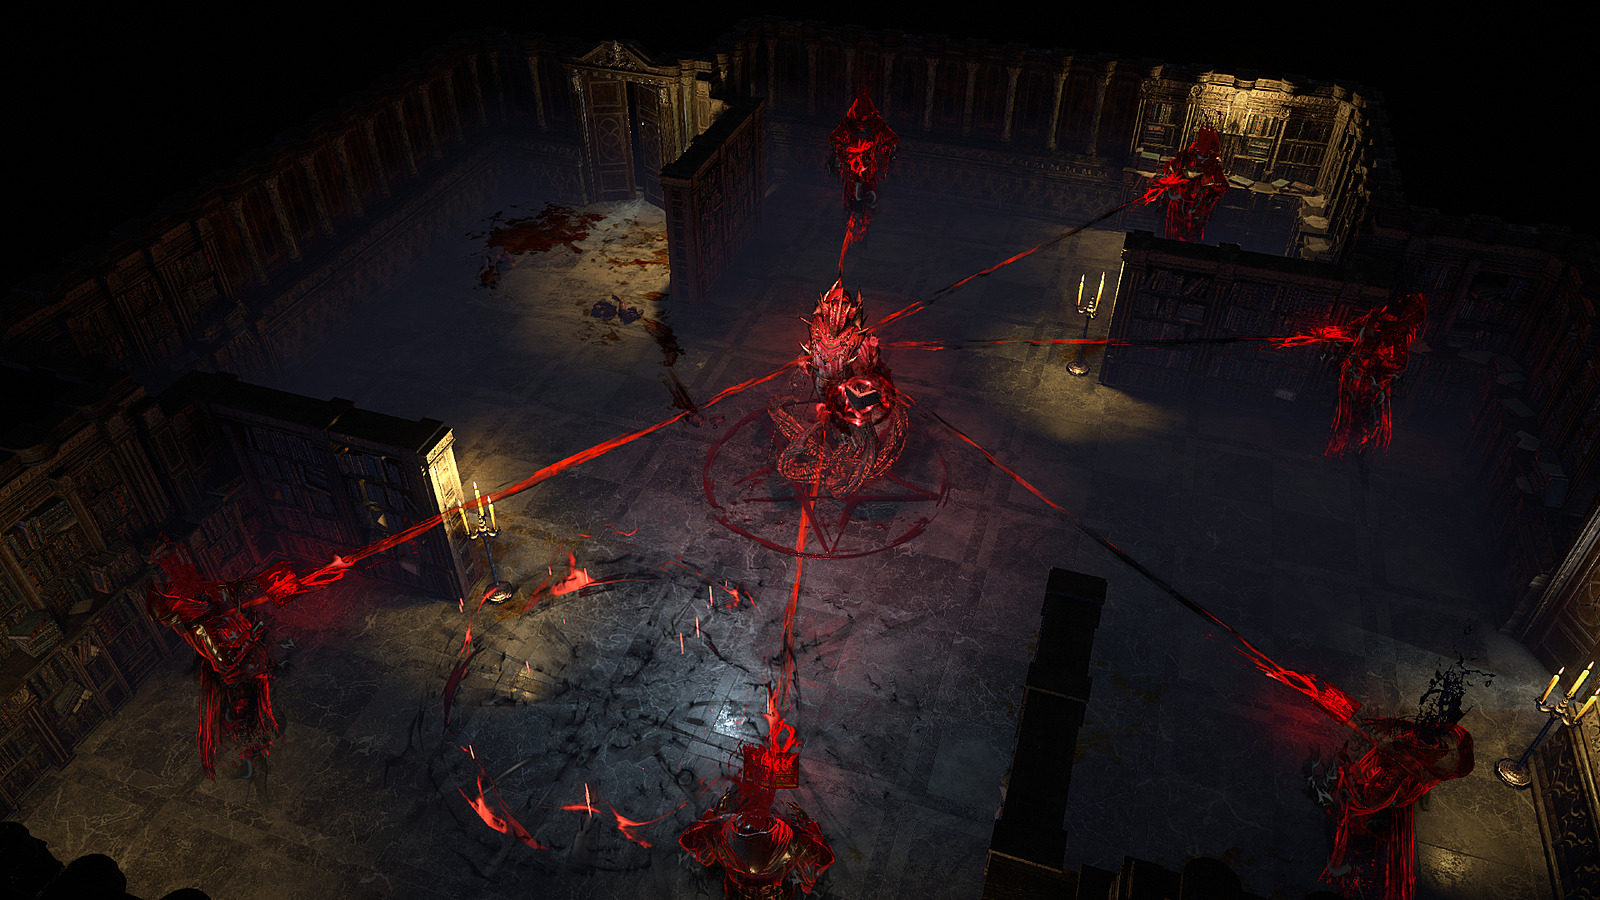
Final floor navigation demands exceptional trap awareness. The concluding level and ultimate boss encounter feature numerous rapid-fire traps that can decimate resolve reserves within seconds. Enhanced trap damage modifiers create additional challenges, though these remain theoretically dodgeable with perfect execution.
Develop an Affliction risk assessment framework: evaluate each potential debuff based on your current floor, economic status, and remaining resolve. Sometimes accepting a manageable Affliction provides access to superior rewards or critical pathing options. However, certain effects like “Guards’ attacks cannot be dodged” or “Lose all Aureus coins” should never be accepted regardless of potential benefits.
Action Checklist
- Unlock Templar Relics in Act 2 Fellshrine Ruins before attempting serious runs
- Prioritize Treasury rooms on Floor 1 to accumulate 300-400 Aureus coins
- Locate Merchant on Floor 2 to purchase your first relic
- Avoid all movement speed reduction and flask penalty Afflictions regardless of rewards
- Abandon runs immediately when vision range becomes severely impaired
No reproduction without permission:Game Guides » The Forbidden Sanctum league mechanic guide PoE 3.20. How to win, what to avoid, best strategy to not lose resolve Master Path of Exile's Forbidden Sanctum with expert strategies to preserve resolve and maximize rewards