TL;DR
- Use the large metal ball as both platform and Ascend point to reach all areas
- Retrieve the optional chest first before proceeding with the main puzzle
- Combine Ultrahand and Recall abilities strategically for ball transportation
- Fuse both balls together before sending them down the final rail
- Complete the shrine in under 8 minutes with proper execution
Mastering the “A Route for a Ball” challenge in Mayamats Shrine requires understanding its unique mechanics and strategic approach. This guide provides comprehensive solutions with time-saving techniques.
In The Legend of Zelda: Tears of the Kingdom, Hyrule presents numerous shrine puzzles that test your problem-solving skills. The Mayamats Shrine, situated on Rutimala Hill in the Gerudo Highlands’ southwestern region, stands out for its creative use of multiple abilities. This particular shrine demands precise execution of Ascend, Ultrahand, and Recall mechanics to navigate its multi-level structure.
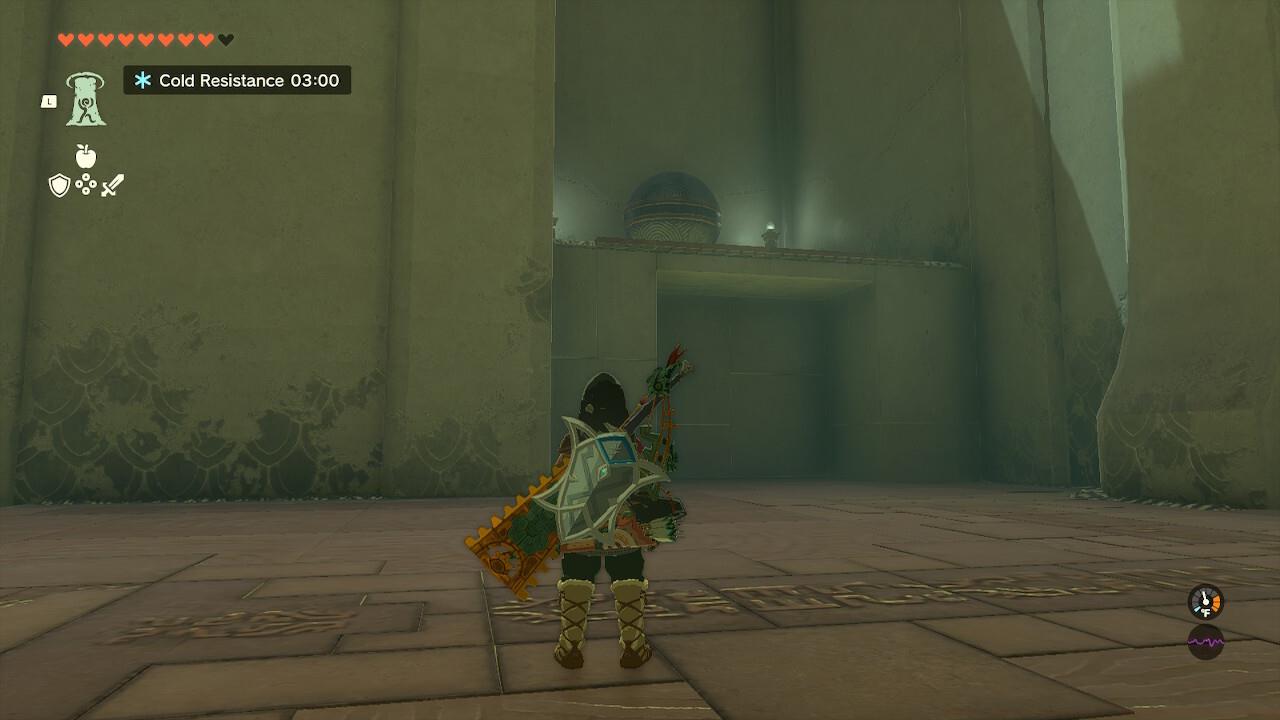
Begin by gliding across the initial chasm using the provided fans for propulsion.
Upon entering the shrine, you’ll immediately see the exit door ahead, which remains locked until you deposit the correct ball into the adjacent receptacle. The solution involves navigating three distinct areas: the starting platform, the central section with the optional chest, and the upper ball distribution system.
After crossing the chasm, you’ll discover the large metal ball positioned to your left. Important note: this initial ball serves as a tool rather than the solution object – you’ll need it to access other areas and retrieve the smaller ball that actually unlocks the exit.
Before tackling the main puzzle, securing the optional chest provides valuable rewards. Position the large metal ball strategically to create accessible platforms.
Use Ascend to reach the ball’s elevated position, then carefully transport it to the metal rails spanning the chasm. Place the sphere in the narrow gap directly before the chest chamber, creating a stable bridge for crossing. This method prevents unnecessary backtracking and ensures you don’t miss valuable equipment.

The metal ball creates a perfect stepping stone to access the chest compartment safely.
Common mistake: Many players attempt to jump the gap without proper ball placement, resulting in falls and time loss. Always ensure the ball is securely positioned before attempting traversal. The chest typically contains weapons or materials that can assist in your broader Hyrule adventures.
Pro tip: After collecting the chest contents, you can reuse the same ball for accessing the upper area, eliminating the need for multiple retrievals.
Accessing the shrine’s upper section requires creative application of the Ascend ability through the large metal ball.
Position the ball within the wall’s funnel-shaped indentation, creating an Ascend point to reach the previously inaccessible right-side area. This section contains the critical puzzle element: the smaller ball that actually unlocks the exit door.
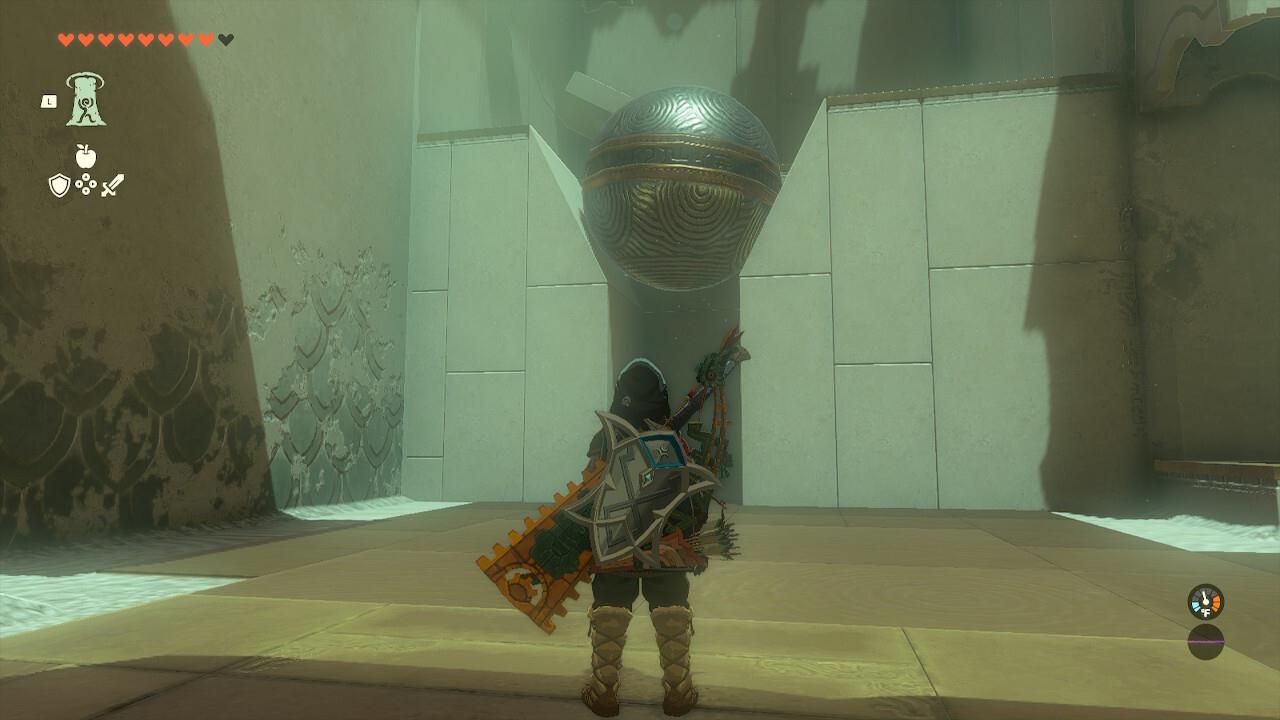
Strategic ball placement in the funnel enables vertical movement to the puzzle’s next stage.
In the upper chamber, observe the smaller ball’s automated path along two platforms moving left to right. The perpendicular rail system provides your access route to intercept this moving target.
Employ Ultrahand to gradually elevate the large ball along the rails toward the smaller sphere’s trajectory. Move deliberately and maintain control to prevent accidental drops. Once positioned optimally, mount the large ball to gain elevation and perspective.
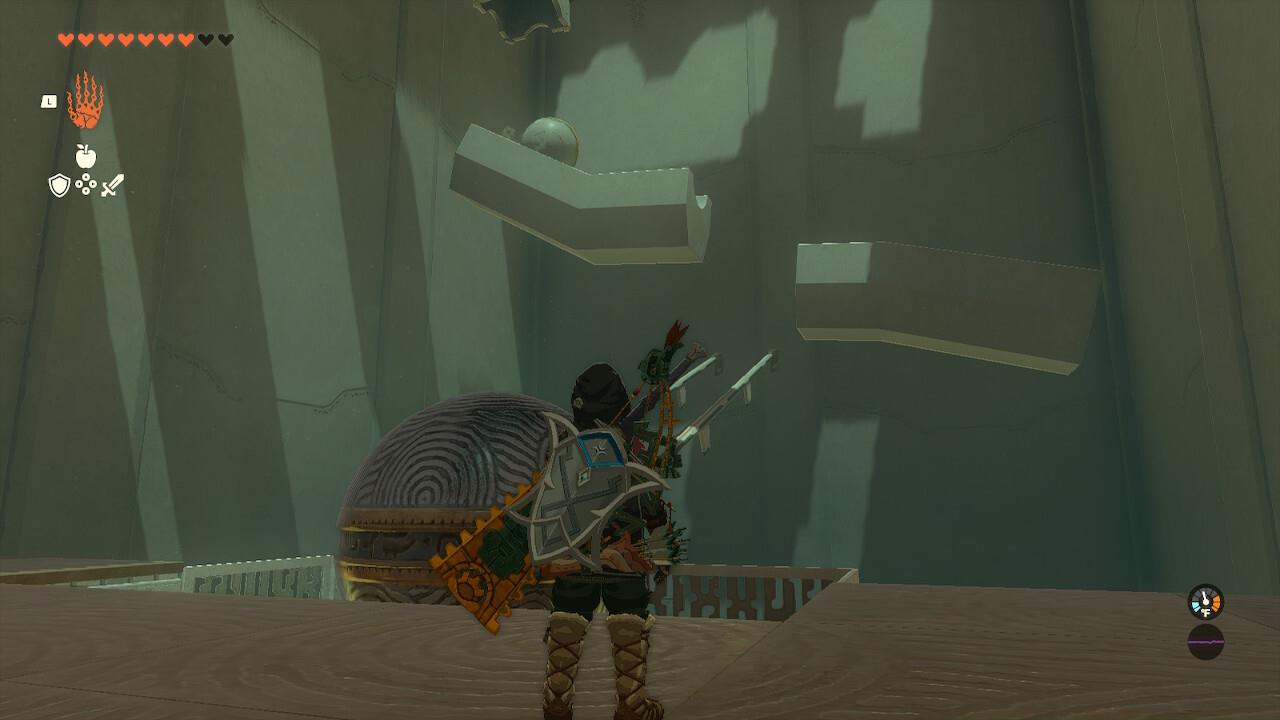
Combine Ultrahand positioning with Recall activation for precise ball interception timing.
Activate Recall to set the large ball on an automated path toward the smaller sphere. As it approaches the target, use Ultrahand to capture the smaller ball and reposition it securely on the preceding platform. This prevents it from continuing its automated cycle and getting potentially lost.
Successfully completing the Mayamats Shrine requires avoiding common errors and applying advanced movement techniques.
Critical timing: Use Recall during the large ball’s upward trajectory for optimal positioning. Wait until it reaches the highest point before activating the ability to maximize your reach advantage.
Common pitfall: Rushing the small ball capture often leads to missed grabs and reset requirements. Position yourself carefully and wait for the ideal moment rather than acting prematurely.
Advanced strategy: Experienced players can combine both balls immediately after retrieval using Ultrahand’s fuse function. This creates a single object that’s easier to manage through the final rail system.
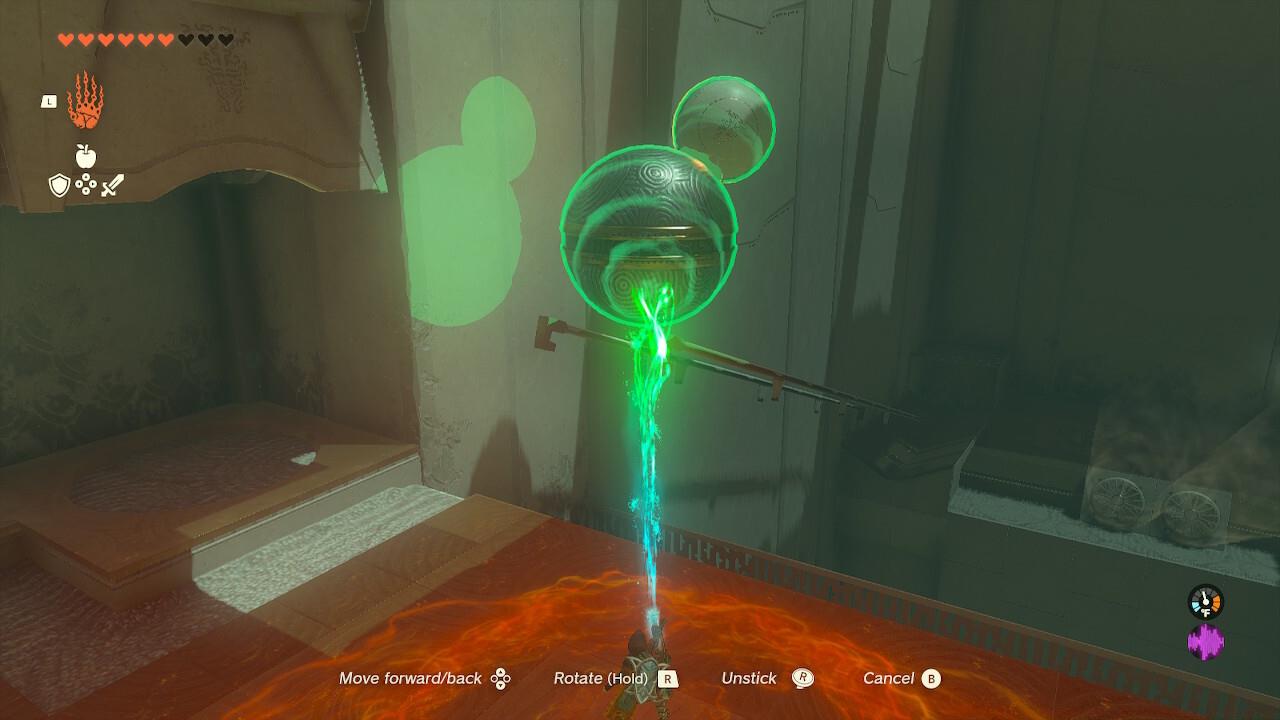
Fusing both spheres streamlines the final transportation phase and reduces error potential.
Final execution: Once fused, guide the combined object along the metal rails back toward the exit area. The unified mass moves more predictably than attempting to transport two separate items.
Time optimization: Properly executed, this shrine can be completed in 6-8 minutes. Players struggling beyond 15 minutes should reconsider their approach sequence and ability timing.
For more advanced puzzle-solving techniques, check out our comprehensive Complete Guide to gaming challenges. Understanding core mechanics like those in Mayamats will enhance your performance across multiple game types.
Action Checklist
- Glide across initial chasm using fan propulsion
- Retrieve large metal ball and position for chest access
- Use ball as Ascend point to reach upper area
- Intercept small ball using Ultrahand/Recall combination
- Fuse both balls and guide to exit receptacle
No reproduction without permission:Game Guides » Zelda: Tears Of The Kingdom – Mayamats Shrine Puzzle Guide Master the Mayamats Shrine puzzle with expert strategies, common mistake avoidance, and time-saving techniques