TL;DR
- Memory 8 appears near a massive neon sign early in Rooftops level
- Memory 9 requires jumping behind a wall after escaping Zurks during tower ascent
- Dead End contains three memories: sealed door, fisherman hut, and Doc’s apartment
- Environmental scanning and audio cues help locate hidden collectibles efficiently
- Complete memory collection unlocks special achievements and story insights
Games and Esports Articles
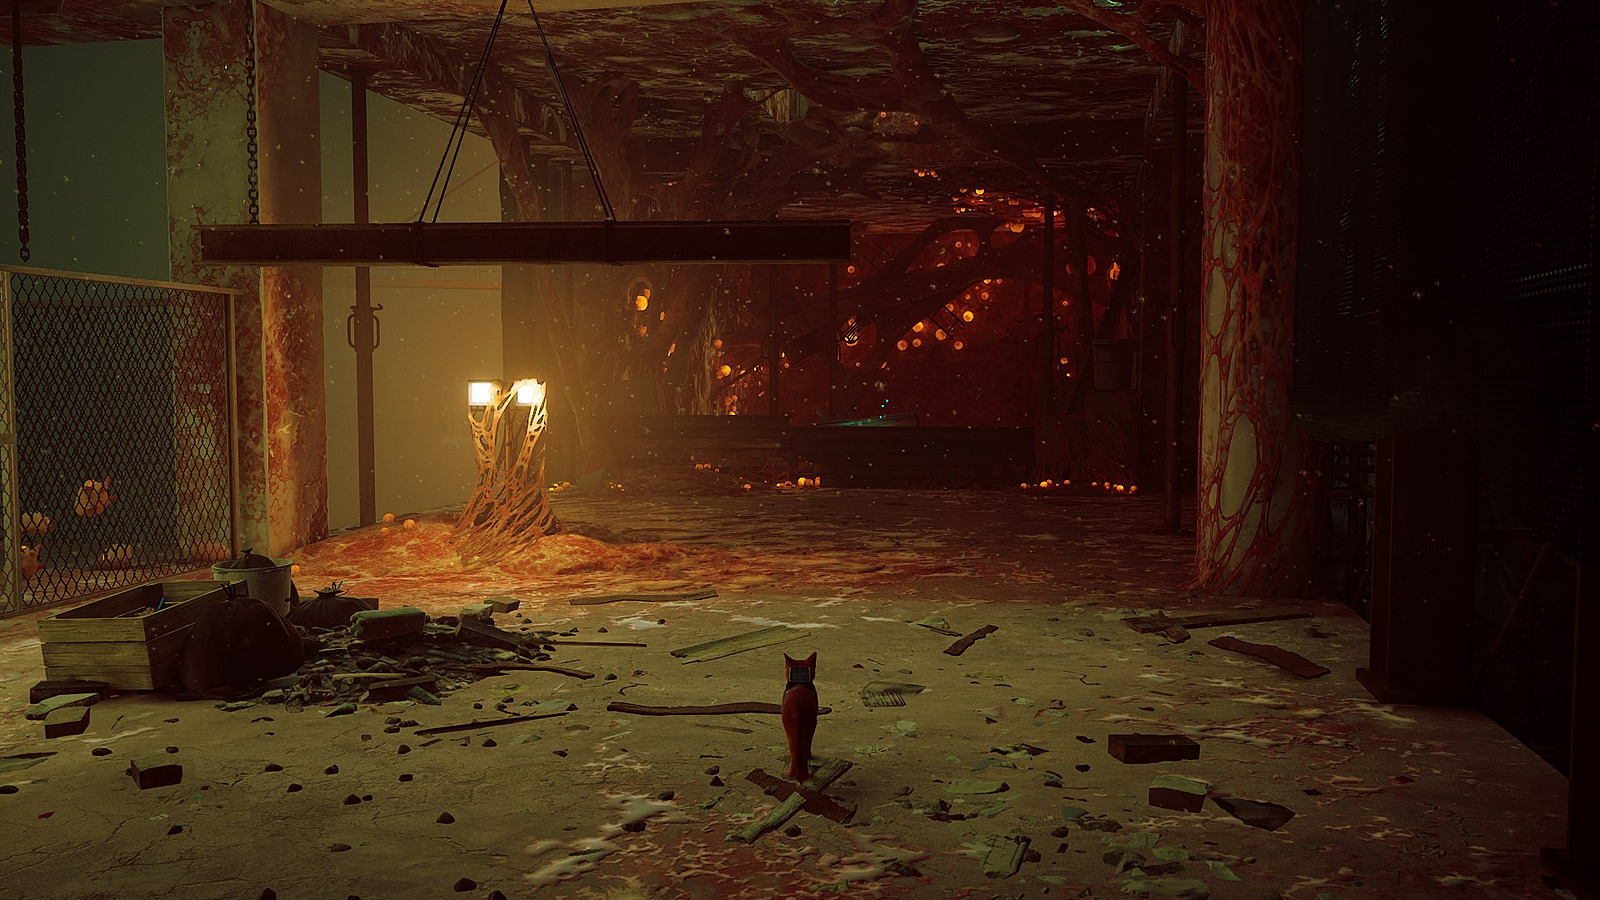
Within the captivating cyberpunk universe of Stray, players guide an adorable ginger feline through a metropolis inhabited solely by robotic beings. Among the primary objectives is gathering 27 scattered memories that reveal the city’s mysterious history. The Rooftops chapter specifically contains three crucial collectibles, while Dead End offers additional opportunities to expand your collection. This comprehensive guide provides detailed navigation strategies to ensure you don’t miss any of these valuable story elements.
Memory collection serves multiple purposes beyond simple completionism. Each recovered fragment provides deeper insight into the world’s lore, character backstories, and the events that transformed this city. Additionally, gathering all memories contributes to achievement completion and enhances your overall gameplay experience by revealing hidden narrative layers.
Rooftops
Memory 8
As you commence the Rooftops level progression, immediately scan your surroundings for visual landmarks. Positioned prominently on the right flank stands an enormous illuminated neon advertisement structure. Approach this glowing sign carefully – the memory materializes as a shimmering blue orb hovering near the base of the installation. Many players overlook this collectible by rushing forward too quickly, so maintain deliberate exploration pace.

Memory 9
During your vertical ascent toward the central tower structure, you’ll encounter a tense escape sequence from the voracious Zurks. Once you’ve successfully evaded these parasitic creatures, carefully examine the environment for alternative pathways. A seemingly inconspicuous dead-end corridor extends to your left – this apparent obstruction actually conceals your next objective. Execute a precise jump maneuver behind the partition wall to discover Memory 9 waiting in the secluded alcove.
Pro navigation tip: The game’s audio design provides subtle cues for nearby collectibles. Listen carefully for a faint humming sound that intensifies as you approach memory locations. This auditory signal can prevent missed opportunities, especially when visual indicators might be obscured by the environment’s dense visual design.
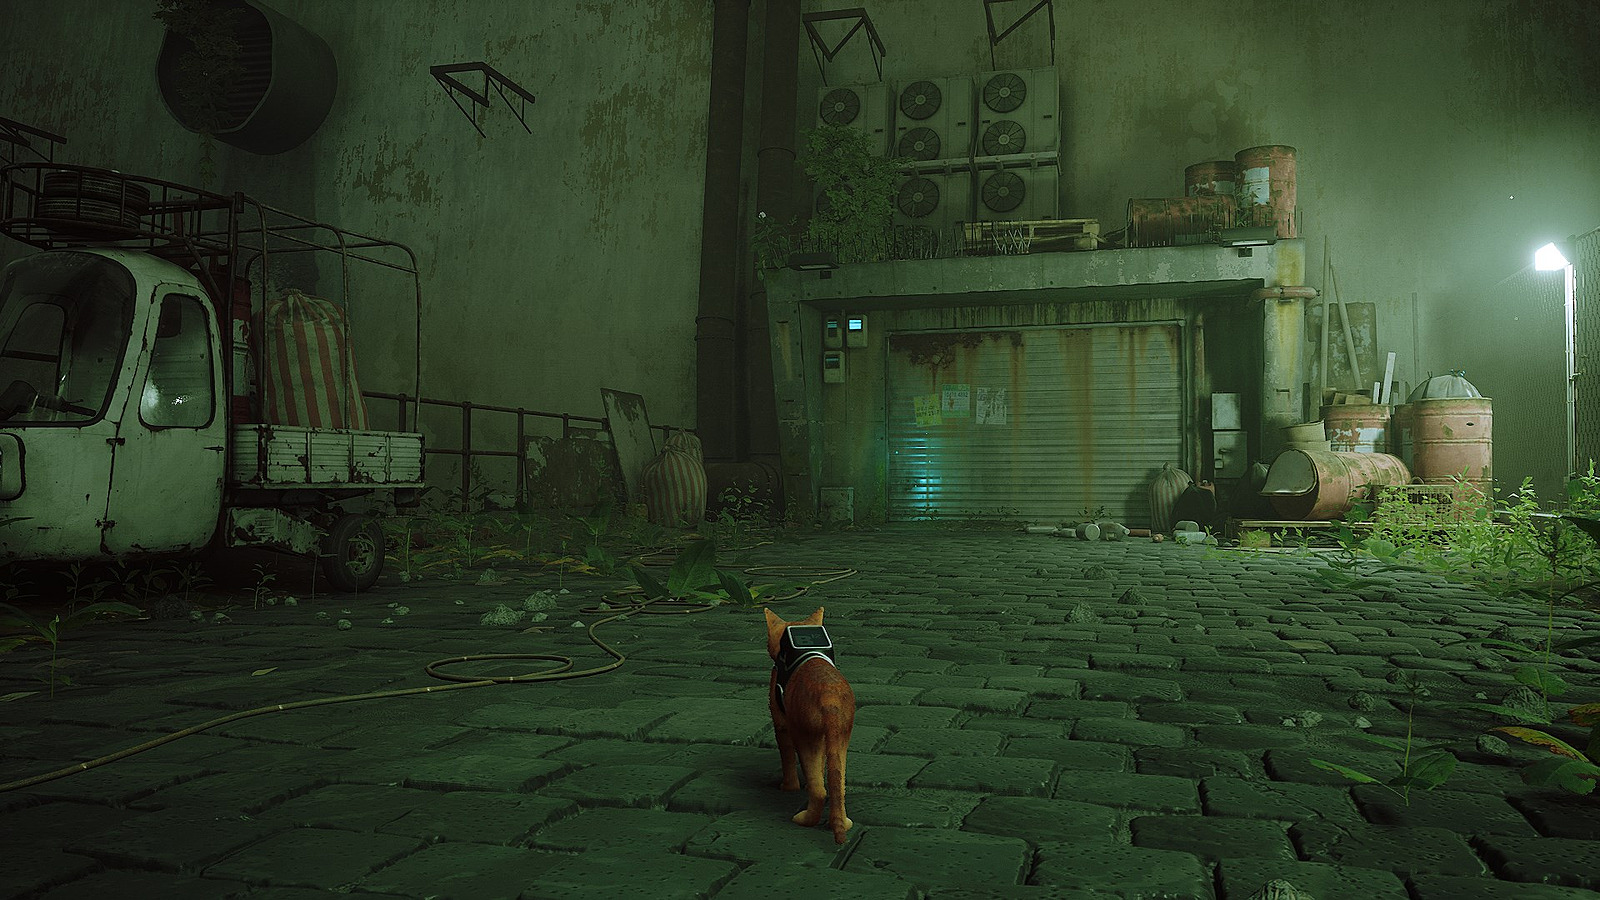
Dead End
Memory 10
Transitioning into the Dead End chapter, your initial area contains a conspicuously sealed entrance on the left perimeter. While this barrier might initially appear impassable, careful investigation reveals alternative access points. The memory manifests adjacent to this locked doorway, often requiring creative platforming or interaction with nearby environmental elements to reach.
Memory 11
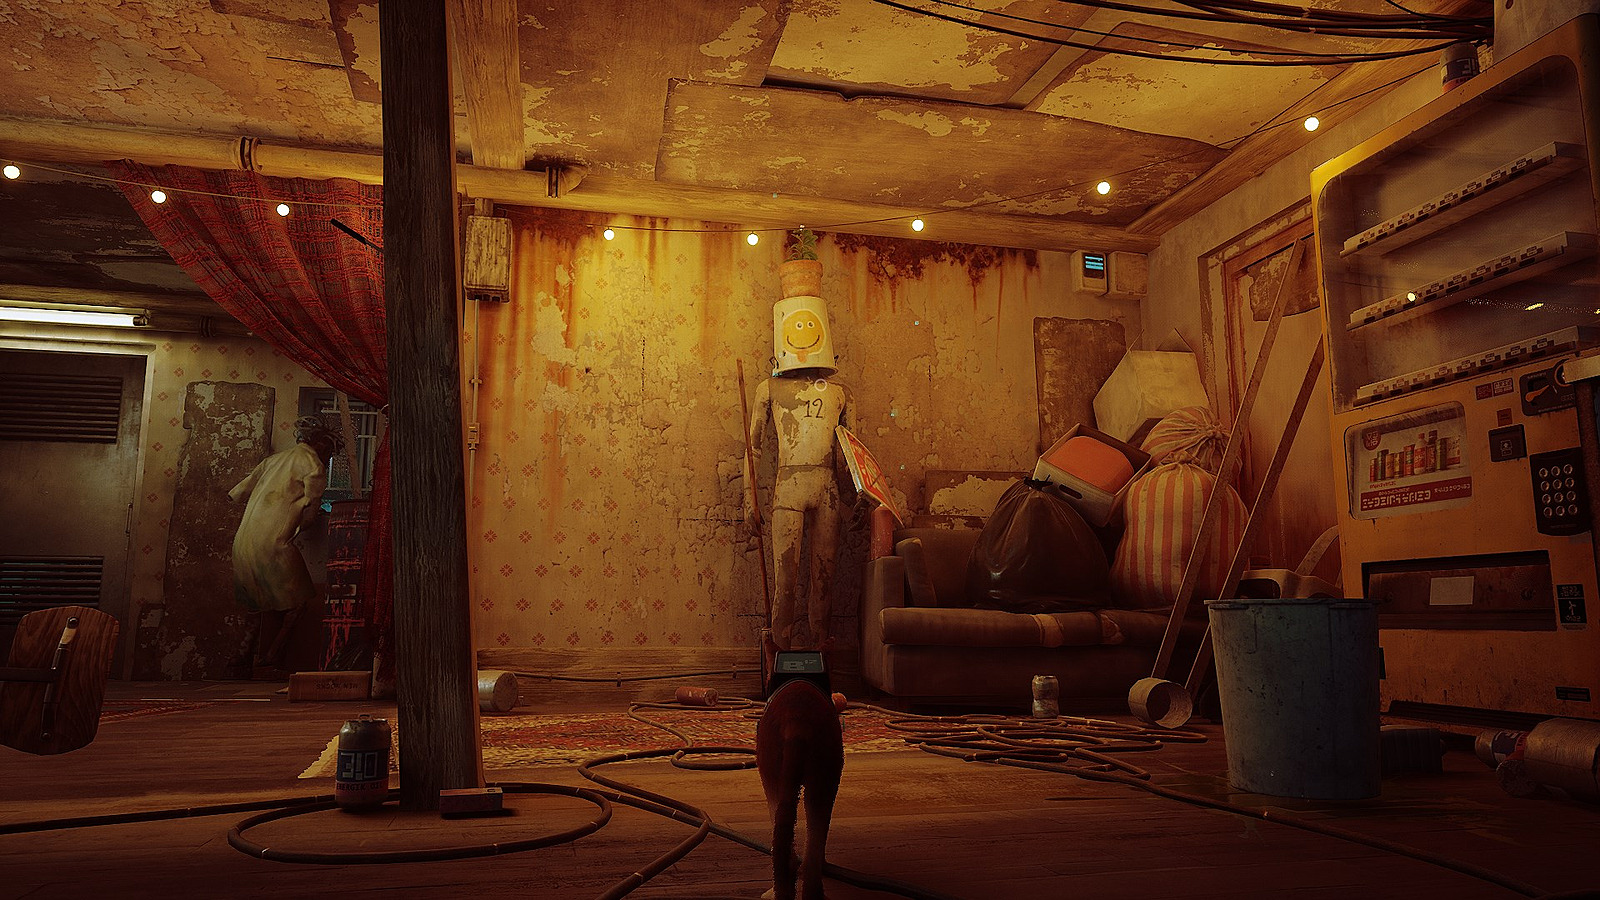
Venture deeper into the settlement to locate the distinctive fisherman robot’s dwelling. This rustic hut stands out with its weathered appearance and fishing implements displayed outside. Inside this humble abode, Memory 11 materializes in a position that reflects the occupant’s personality and daily routines.
Memory 12
The final collectible in this sequence resides within Doc’s residential flat. This location typically requires navigating through multiple interior spaces and possibly solving minor environmental puzzles. The memory appears in a location that advances your understanding of Doc’s character and role within the narrative.
Environmental storytelling plays a crucial role in memory placement. Each collectible’s position relates thematically to its immediate surroundings and the characters associated with that area. Pay attention to visual details and contextual clues that might indicate nearby memories.
Seasoned players recommend systematic area clearing rather than rushed progression. Allocate approximately 15-20 minutes for thorough Rooftops exploration and 25-30 minutes for comprehensive Dead End investigation. Common collection mistakes include: overlooking elevated positions, ignoring auditory cues, and failing to return to previously inaccessible areas after acquiring new abilities.
For those pursuing 100% completion, understanding the Complete Guide methodology proves invaluable. The memory collection system shares design principles with achievement systems in other games, where persistent exploration yields significant rewards.
Memory hunting efficiency improves dramatically when you master the game’s movement mechanics. Practice precise jumping between narrow surfaces and develop familiarity with the feline protagonist’s agile capabilities. These skills become particularly important when navigating the complex vertical environments of the Rooftops chapter.
Consider consulting our Weapons Unlock strategies for complementary gameplay tips, though the approaches differ between combat-focused games and narrative adventures like Stray.
Action Checklist
- Methodically scan Rooftops starting area for neon sign landmark
- After Zurk escape sequence, explore left dead-end and execute wall jump
- In Dead End chapter, investigate sealed door area thoroughly
- Locate fisherman robot hut and search interior spaces
- Navigate to Doc’s apartment and solve environmental puzzles
- Verify collection completion through inventory menu
No reproduction without permission:Game Guides » All memory locations in Rooftops and Dead End Stray guide Complete guide to finding all memory collectibles in Stray's Rooftops and Dead End chapters with expert strategies