TL;DR
- Nether dramatically reduces all healing effects while increasing base health pools
- Environmental light orbs and Major Boons provide crucial alternative healing sources
- Support frame weapons and Healing Grenades remain most effective despite nerfs
- Team coordination and ability timing are essential for survival in higher difficulties
- Recent patches fixed major bugs but intentional healing reductions remain active
Mastering survival techniques within Oryx’s treacherous Dreadnaught requires understanding the fundamental changes to recovery mechanics in this challenging activity.
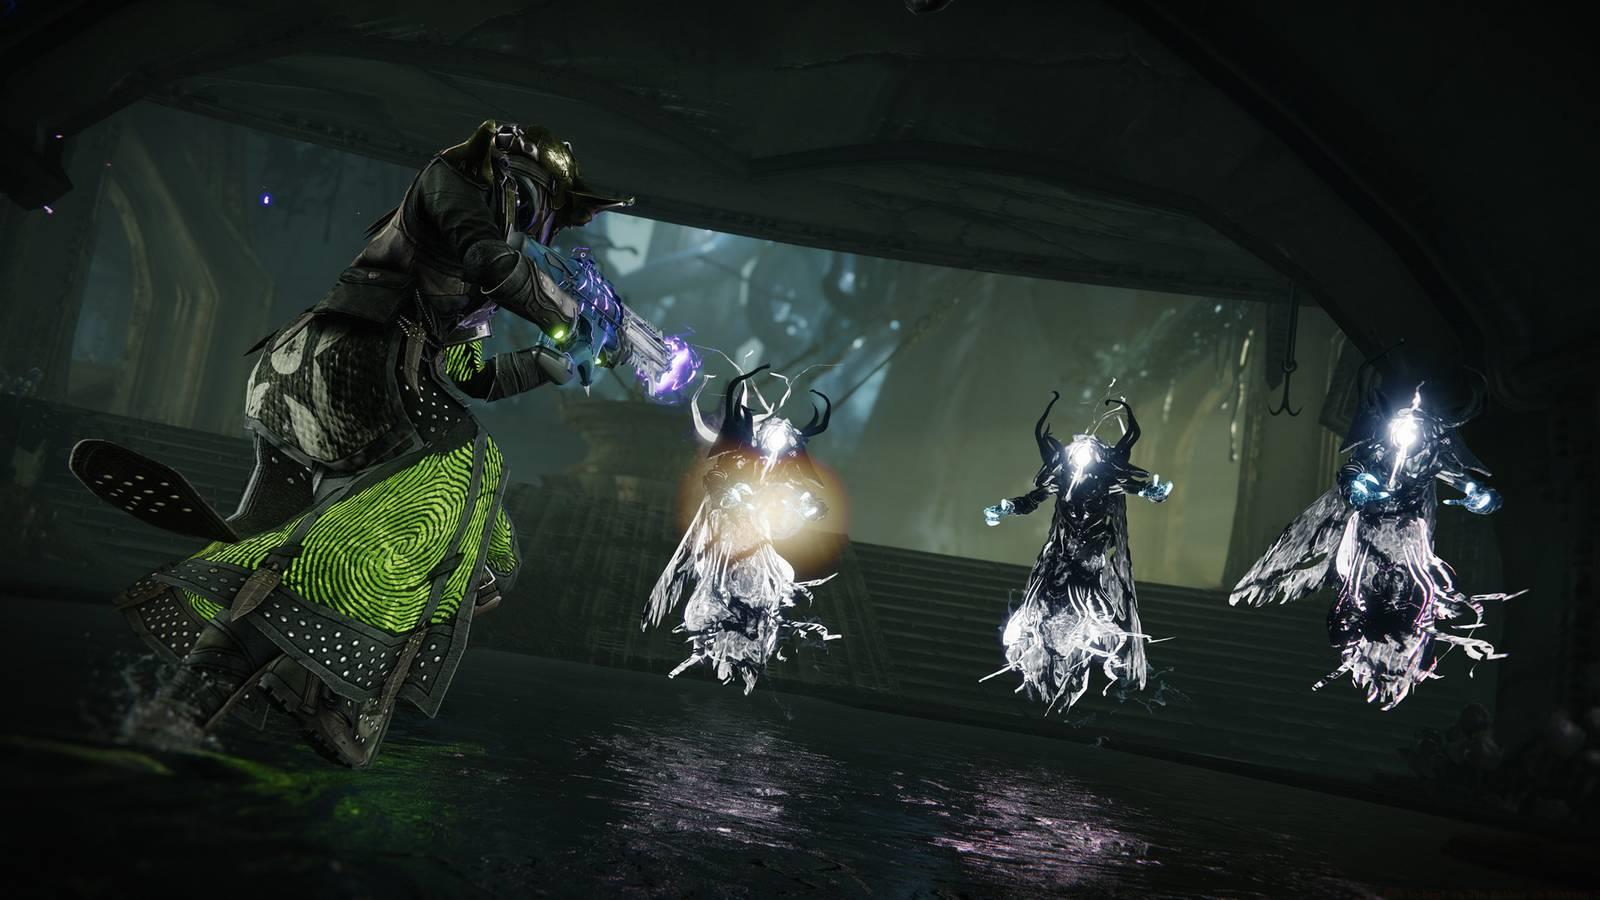
The Nether mode in Destiny 2 implements significant healing reductions inspired by roguelite design principles, forcing guardians to explore unconventional recovery methods beyond standard restoration effects. While your health pool receives substantial boosts across explore, normal, and expert difficulty levels, the complete elimination of passive regeneration creates a fundamentally different survival dynamic. This design intentionally pushes players toward utilizing the Healing Grenades ability or the support frame auto rifle introduced in The Final Shape expansion as primary recovery tools.
Our comprehensive Destiny 2 guide provides detailed strategies for effective healing within The Nether, ensuring your fireteam maintains combat effectiveness throughout this demanding activity.
Latest Update (February 14): Recent game patches have substantially improved the healing system’s functionality, though intentional reductions to certain effects remain active.
When operating within The Nether’s dangerous environments, guardians experience dramatically expanded health reserves but completely lose natural health regeneration capabilities. Furthermore, all healing-oriented Aspects, weapon perks, and consumable items operate at significantly reduced effectiveness, demanding creative adaptation and strategic planning for successful mission completion.
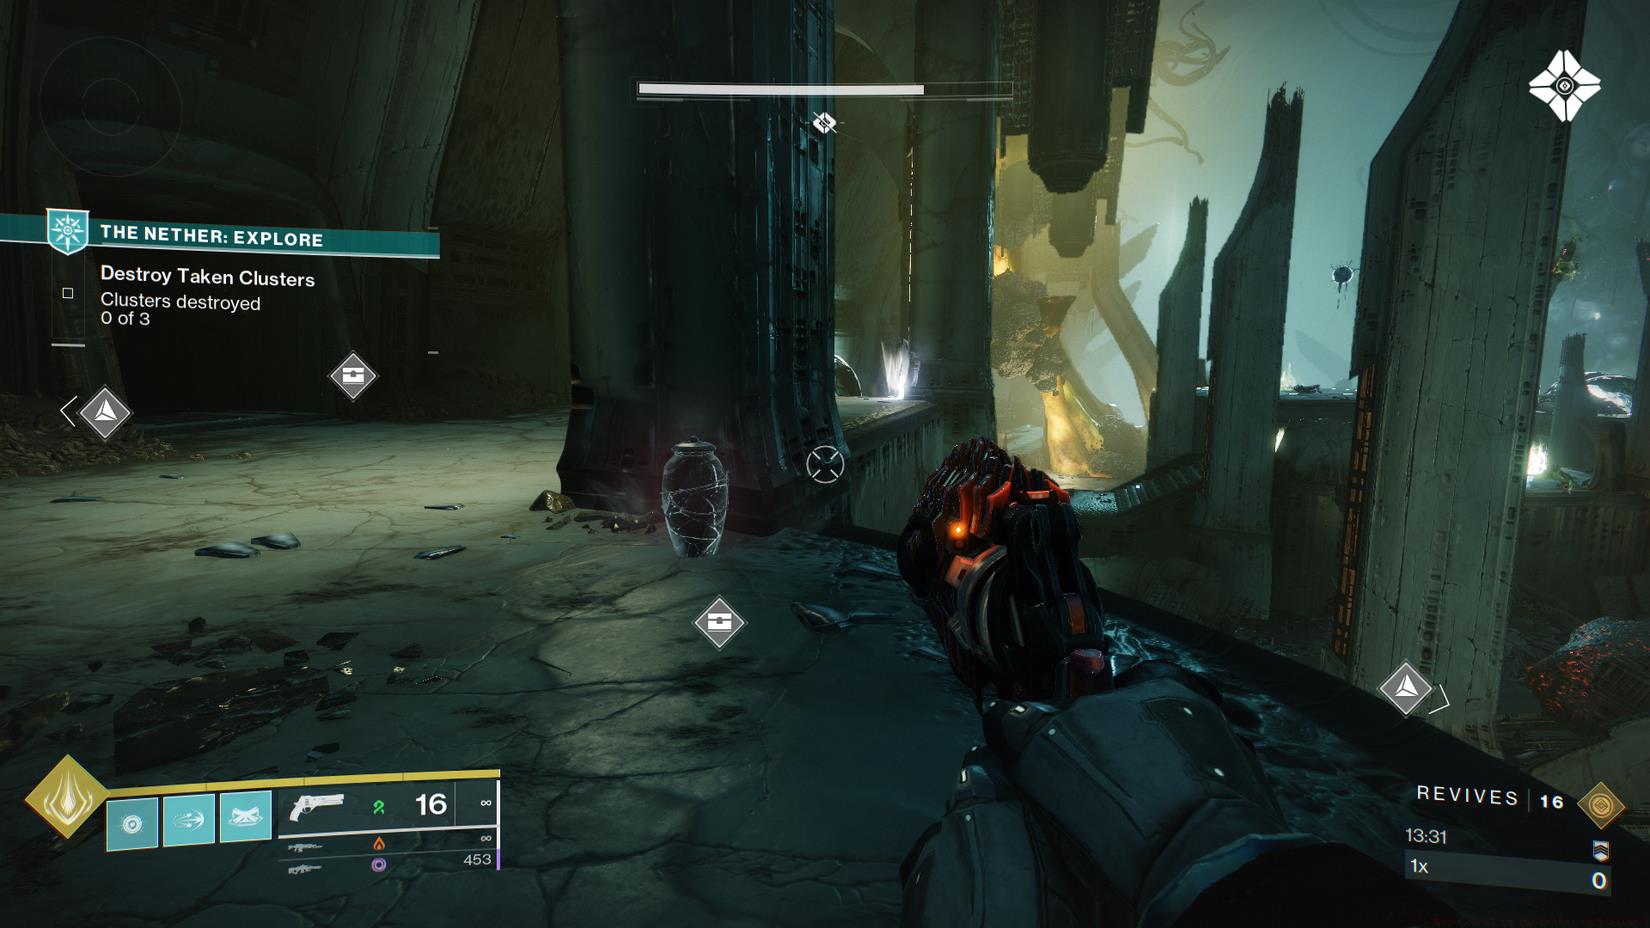
Image: Bungie via Polygon
Before examining optimal loadout configurations, several environmental healing mechanisms provide crucial survival options. Scattered throughout The Nether are destructible urns that release special light orbs delivering immediate health restoration upon collection. These valuable resources can be enhanced through Rune interactions at the Shaping Slab within Eris’ apartment, potentially granting additional benefits like ability energy regeneration alongside healing.
Multiple Major Boons available within the activity provide healing triggers tied to class ability usage or finisher moves, offering strategic recovery opportunities during intense combat scenarios.
During the initial launch phase of Destiny 2’s Heresy episode, numerous healing effects experienced significant functionality issues within The Nether, with some providing drastically reduced recovery while others unexpectedly overpowered. Current gameplay reflects post-patch corrections, though intentional healing limitations for specific mechanics remain active design elements.

Image: Bungie via Polygon
Despite ongoing adjustments, specific equipment and ability combinations continue providing reliable healing within The Nether’s challenging environment, though at reduced effectiveness compared to standard Destiny 2 activities.
Post-patch conditions maintain intentional reductions for keyword-based healing effects including Cure, Restoration, and Devour, operating below their standard potency levels. With these limitations in mind, we recommend several strategic approaches for maintaining combat effectiveness:
Weapon Prioritization: Support frame auto rifles deliver the most consistent healing output despite overall reductions. These weapons provide gradual health restoration during sustained damage application, creating valuable sustain during extended engagements. Pair them with weapon mods that enhance reload speed or magazine capacity to maximize uptime.
Ability Optimization: Healing Grenades maintain their status as the most reliable ability-based recovery option. Time their usage during repositioning moments or when taking cover to maximize value. Consider exotic armor pieces that enhance grenade regeneration or provide additional healing effects when combined with these abilities.
Class-Specific Strategies: Warlocks should prioritize Healing Rifts with exotic enhancements like Sanguine Alchemy for area control. Titans benefit from defensive abilities like Towering Barricade combined with healing exotics. Hunters can maximize mobility to avoid damage while utilizing healing-focused exotic combinations.
Team Composition: Coordinate fireteam loadouts to ensure healing source diversity. Avoid stacking identical healing methods since diminishing returns apply in The Nether. Designate specific players for primary healing responsibilities while others focus on damage or crowd control.
Environmental Awareness: Develop map knowledge for urn spawn locations and Major Boon acquisition points. Plan engagement positioning around these resources to create natural recovery opportunities during combat sequences.
Mastering The Nether requires understanding nuanced healing mechanics and avoiding common mistakes that compromise survival effectiveness.
Timing and Resource Management: The most successful guardians carefully manage their healing resources rather than using them reactively. Use environmental light orbs when health drops below 50% rather than waiting for critical levels. Coordinate Major Boon usage with planned ability activations for maximum value. Time Healing Grenades during enemy reload cycles or movement transitions.
Common Mistakes to Avoid: Many players underestimate the importance of positioning relative to healing sources. Avoid engaging enemies far from destructible urns or cover positions. Don’t waste healing abilities when immediately moving toward environmental resources. Never stack identical healing effects within a fireteam due to significant diminishing returns in The Nether.
Advanced Optimization: Expert players utilize specific exotic armor combinations that provide indirect healing benefits. Consider gear that enhances damage resistance, improves ability regeneration, or provides overshields to reduce incoming damage rather than focusing solely on recovery. Master the timing between using class abilities for Major Boon triggers and offensive capabilities.
Difficulty Scaling Awareness: Healing effectiveness further decreases in expert mode compared to normal difficulty. Adjust strategies accordingly by prioritizing damage avoidance over recovery. In explore mode, use the opportunity to memorize urn locations and practice timing without significant pressure.
For comprehensive strategies on optimizing your entire Destiny 2 experience, consult our Complete Guide covering fundamental gameplay mechanics and progression systems.
Action Checklist
- Equip support frame auto rifle with reload mods
- Map urn locations in explore mode for future runs
- Coordinate fireteam healing sources to avoid overlap
- Practice ability timing during enemy reload cycles
- Optimize exotic armor for indirect healing benefits
No reproduction without permission:Game Guides » How to heal in The Nether in Destiny 2 Master Destiny 2's Nether healing mechanics with expert strategies and optimized loadouts for survival