TL;DR
- Complete The Taken Path quest first to unlock Derealize mission access
- Use Taken relics strategically to break Vrhiisk’s immunity shields during boss encounters
- Master the compass puzzle mechanics to navigate dimensional shifts successfully
- Prepare specific weapon loadouts optimized for both Taken and Not-Taken enemy types
- Coordinate phase transitions during Xir-Kuur fight to manage dual-form mechanics
Confront dual-dimensional threats to secure the powerful Barrow-Dyad Exotic submachine gun
The Derealize mission represents the climactic conclusion to Destiny 2’s “The Taken Path” Exotic questline, delivering the highly sought-after Barrow-Dyad weapon. While more streamlined than previous Exotic missions, it introduces complex multidimensional mechanics that demand strategic execution. Understanding these systems beforehand significantly improves completion efficiency.
This comprehensive guide provides advanced tactics and insider knowledge to navigate Derealize’s challenges, ensuring you acquire Barrow-Dyad with minimal frustration. We’ll cover optimal loadouts, mechanical deep-dives, and common failure points that other guides overlook.
Before accessing Derealize, you must first collect all Taken Osseous Fragments scattered throughout “The Taken Path” quest. The final fragment awaits discovery deep within the Dreadnaught’s structure. Once secured, locate the mission launch point within The Last City directory to begin your assault on the Taken stronghold.
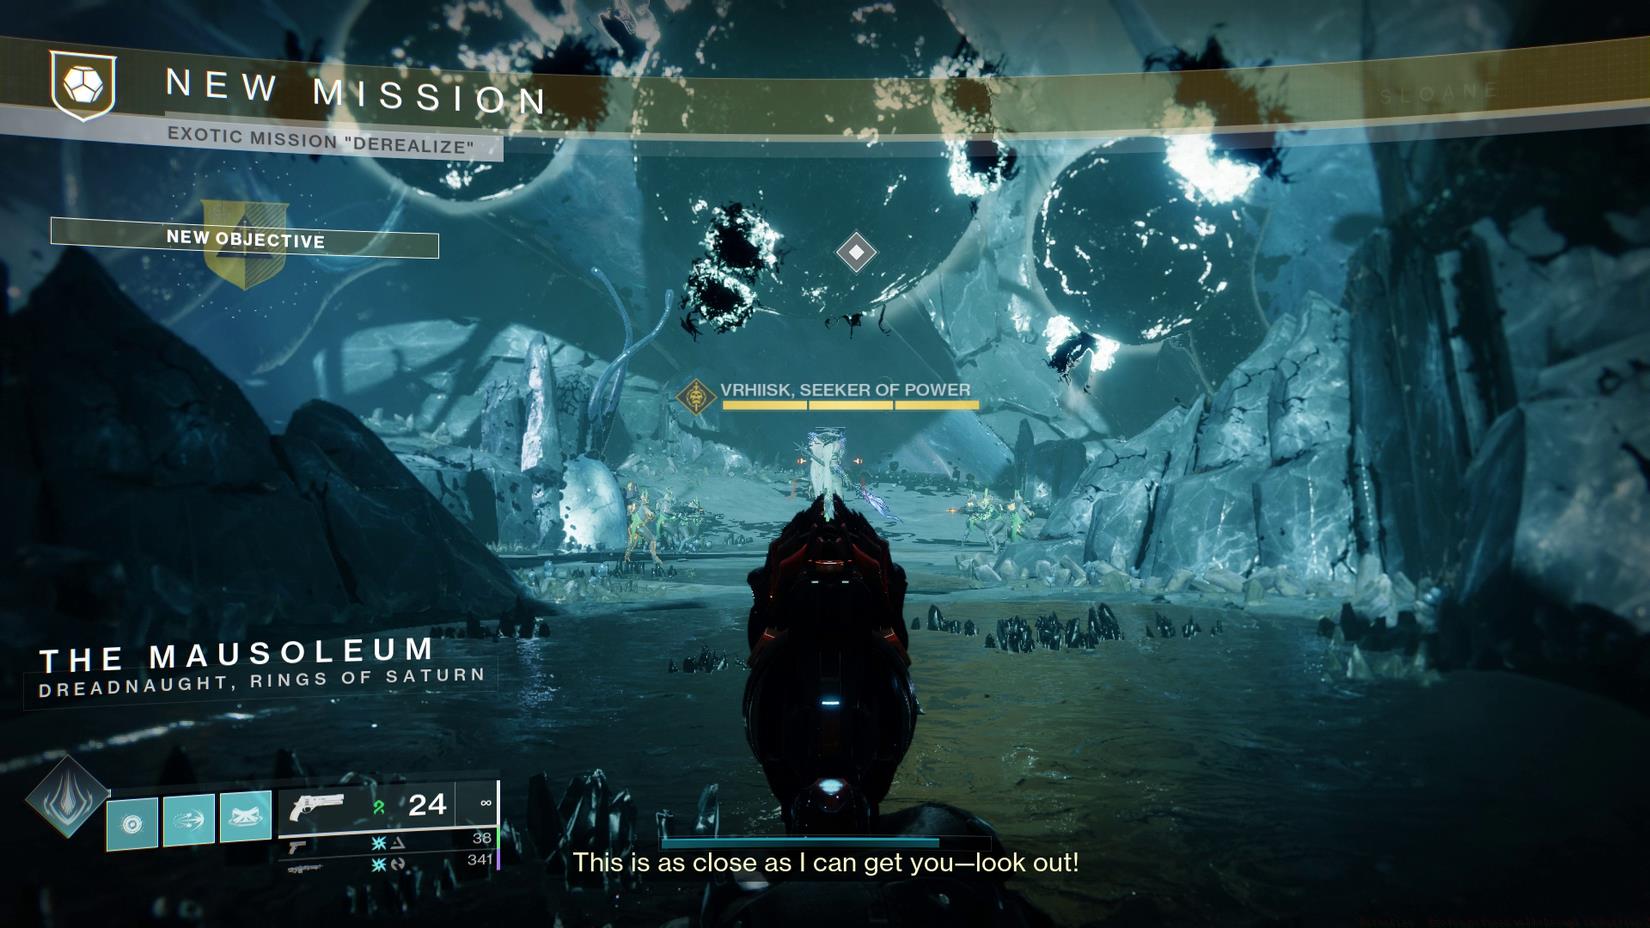
Image: Bungie via Polygon
Upon arriving at the Dreadnaught, eliminate initial resistance to activate the dimensional portal. The true challenge begins at the Trenchway exterior, where Subjugator Vrhiisk awaits with innovative shield mechanics.
Vrhiisk employs rotating immunity phases that require precise execution to overcome. When his protective barrier activates, two powerful ogres materialize on the ship’s structure. Eliminate both combatants to obtain their Taken relics.
Advanced Relic Strategy: Secure the first relic and eliminate nearby enemies to charge its power. When the relic indicates it’s “heavy with power,” deposit it into the ground-based Blight. This action triggers the “Torn Between Dimensions” status, familiar to King’s Fall raid veterans, granting access to alternate dimensional planes.
Retrieve the second relic and repeat the charging process. Utilize the ethereal platforms above to traverse toward the floating Taken Blights. Precise landings on these orbs will dismantle their structural integrity.
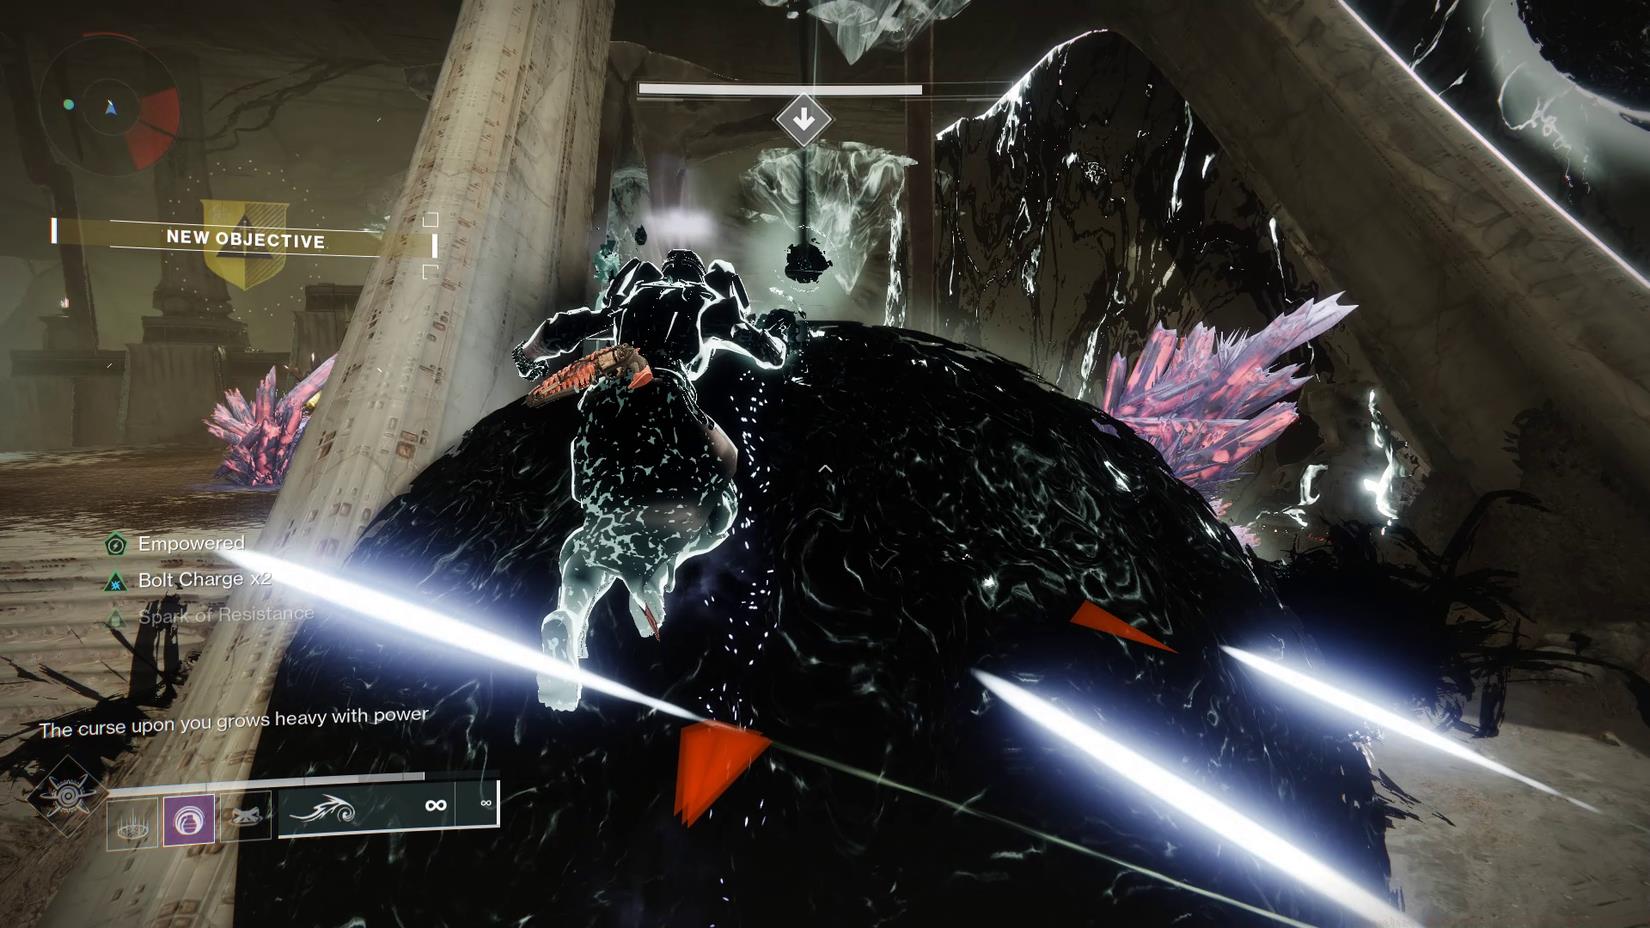
Image: Bungie via Polygon
Destroying both Taken Blights dismantles Vrhiisk’s shield temporarily. Maximize damage output during these vulnerable windows. When his protection reactivates, repeat the shield-breaking sequence. After two successful cycles, Vrhiisk retreats into a Blighted Cyst—pursue and eliminate him to progress.
Pro Tip: Coordinate with fireteam members to simultaneously charge relics, cutting shield phase duration by 40%. Designate one player for platform navigation while others provide covering fire.
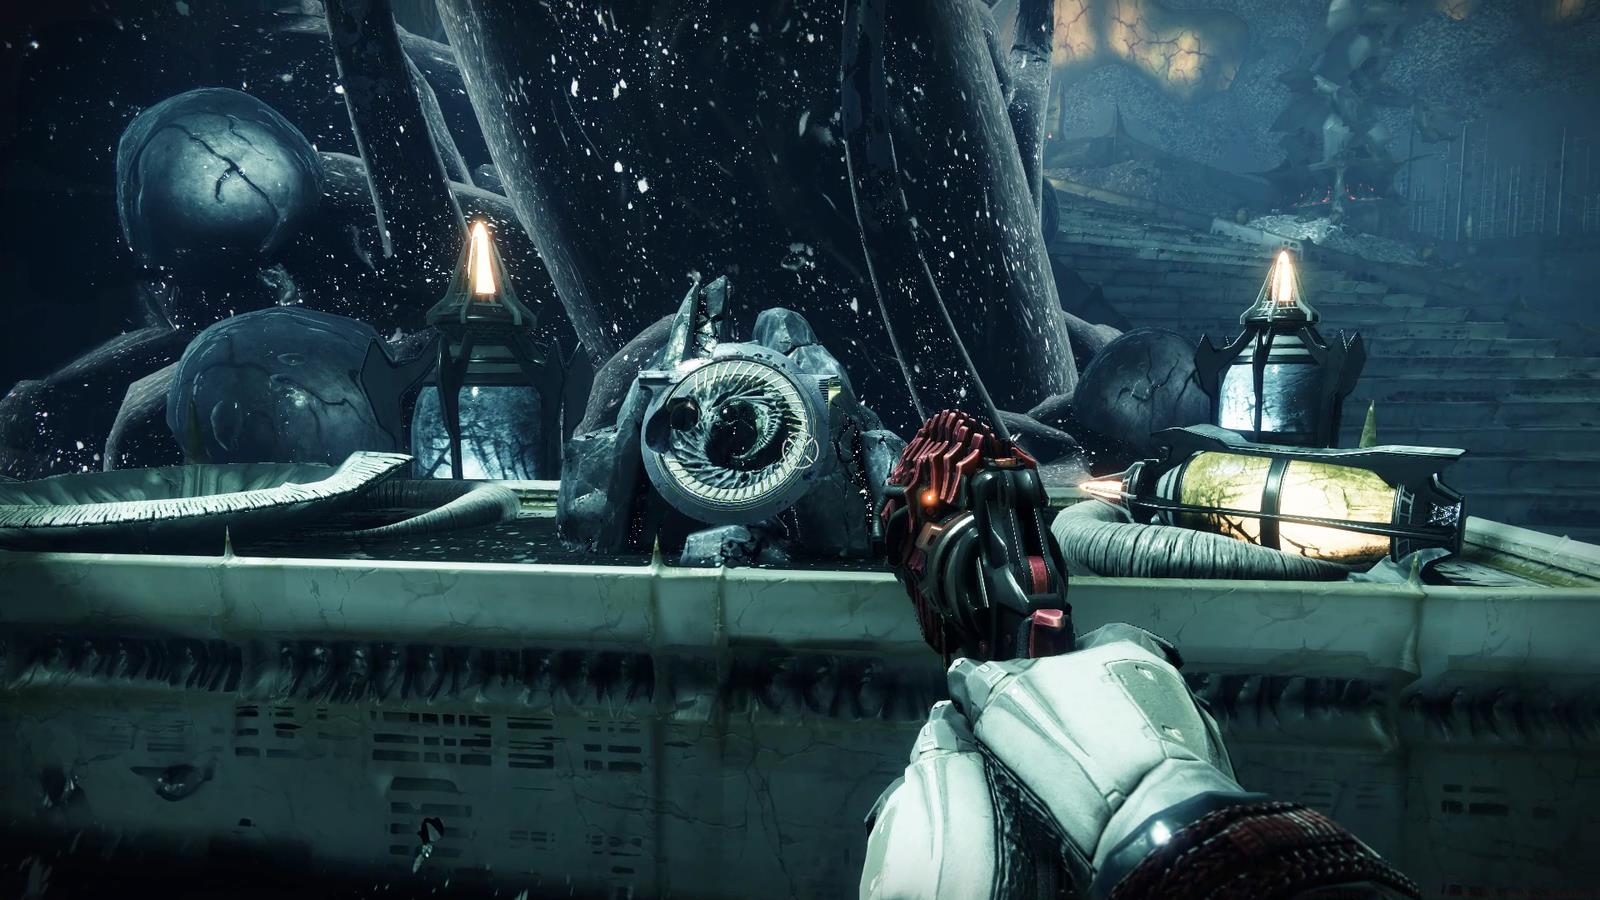
Following Vrhiisk’s defeat, a mystical rune and activation plate materialize, initiating the “NO ESCAPE” sequence with an impending “Reality Tears” countdown.
This compass puzzle requires interpreting directional runes under time pressure. Each symbol corresponds to specific cardinal directions that must be activated in sequence. Misinterpretation triggers environmental hazards and spawns additional enemies.
Puzzle Solution Framework: The runes depict stylized compass points—triangular formations indicate north, while crescent shapes represent west. Activate the plate then quickly navigate to the indicated directions before the timer expires. Successful sequences extend the time limit, while failures accelerate reality deterioration.

Image: Bungie via Polygon
Common Mistake: Players often misread the eastern and western symbols under pressure. Practice recognizing the subtle curvature differences—eastern runes have sharper angles while western symbols feature rounded edges.
Navigating toward Xir-Kuur’s sanctum presents environmental challenges and tactical decisions that impact the final encounter.
The path beyond the compass puzzle introduces shifting architecture and unstable platforms. Time jumps carefully between dimensional phases to avoid falling into oblivion. Specific weapon types prove more effective against the spectral guardians protecting this area.
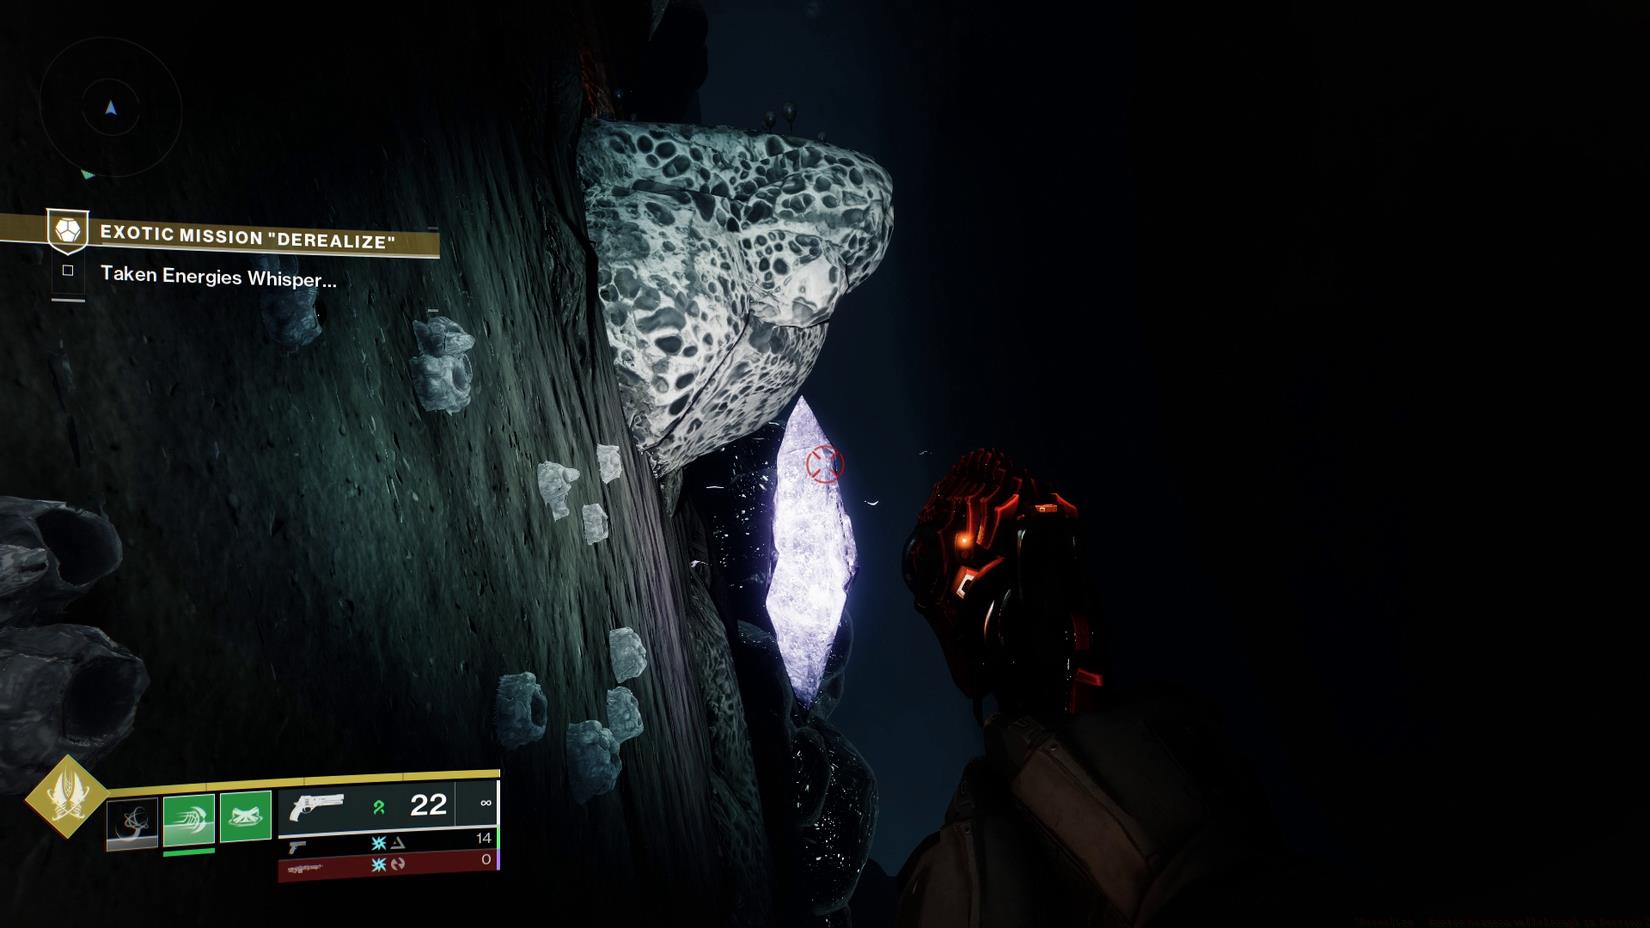
Image: Bungie via Polygon
Preparation Checklist: Before engaging Xir-Kuur, ensure your loadout includes both burst damage weapons for phase transitions and add-clear capabilities for minion management. Scout rifles and fusion rifles offer optimal performance against the varied enemy types in this section.
Coordinate with your fireteam to assign specific roles—designate players for major enemy focus, minor add control, and mechanical objective completion. This specialization significantly improves survival rates during the intense final confrontation.
Xir-Kuur presents one of Destiny 2’s most innovative boss mechanics, shifting between Not-Taken and Taken forms with unique attack patterns and vulnerabilities.
The battle occurs in distinct phases marked by Xir-Kuur’s dimensional transformation. During Not-Taken phases, the boss employs conventional attacks with predictable patterns. The Taken transformation introduces teleportation abilities and area-denial mechanics that require spatial awareness.
Phase Transition Strategy: Xir-Kuur shifts forms at specific health thresholds—approximately 75%, 50%, and 25%. During transitions, eliminate the spawning minions to create safe zones. Failure to clear adds quickly results in overwhelming environmental hazards.
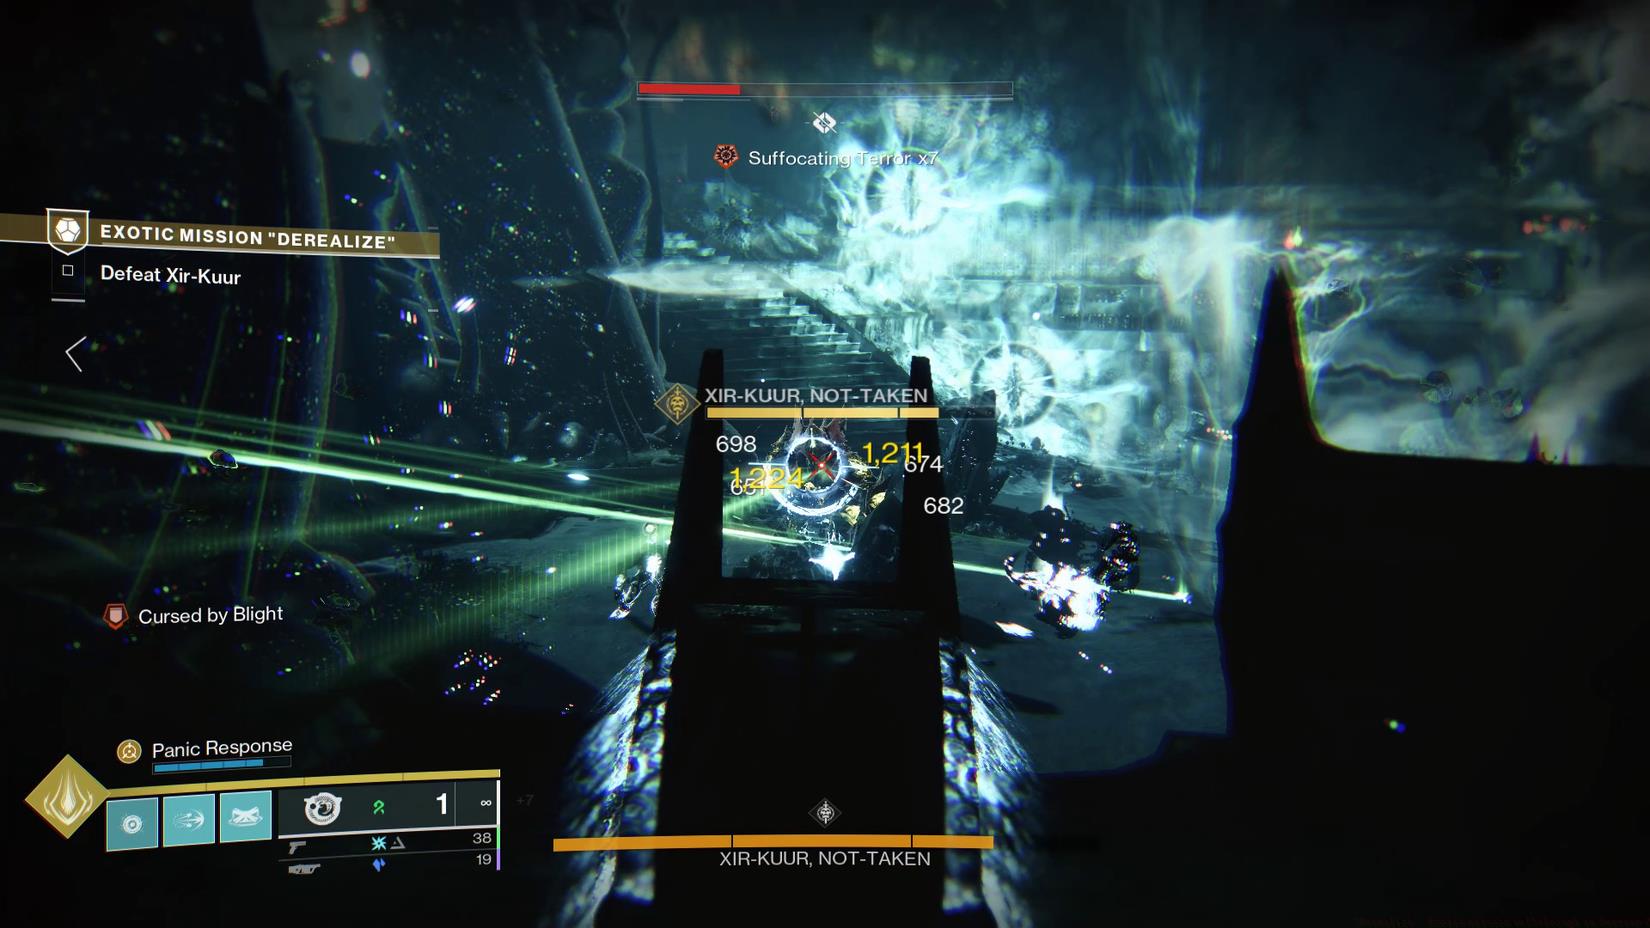
Image: Bungie via Polygon
Optimal Loadout Configuration: Bring weapons effective against both shield types—arc damage for Taken phases, solar for Not-Taken manifestations. Wave-frame grenade launchers excel at add clear during transition windows, while linear fusion rifles provide crucial boss damage.
Advanced Tactic: Coordinate supers to align with phase transitions. Well of Radiance provides sustainability during intense add phases, while Celestial Nighthawk Golden Gun offers burst damage during vulnerable windows. Communication regarding super availability ensures optimal timing.
Upon defeating Xir-Kuur, claim your hard-earned reward—the Barrow-Dyad Exotic submachine gun, capable of shifting damage types between engagements, making it versatile for future content.
Action Checklist
- Complete The Taken Path quest and collect all Osseous Fragments
- Prepare loadout with both burst damage and add-clear capabilities
- Defeat Vrhiisk using coordinated relic strategy with fireteam
- Solve compass puzzle by correctly interpreting rune sequences
- Defeat Xir-Kuur managing phase transitions and add control
No reproduction without permission:Game Guides » ‘Derealize’ Exotic mission walkthrough in Destiny 2 Master Destiny 2's Derealize Exotic mission with advanced strategies for Barrow-Dyad acquisition