TL;DR
- Master the dual-input throwing mechanics requiring charged attack + activation key
- Weapon throwing preserves your gear but consumes durability with each use
- Strategic throwing creates safe engagement distances against dangerous infected
- Different control schemes require specific button combinations for execution
- Advanced techniques include headshot prioritization and environmental exploitation
Here’s the definitive method to eliminate zombies using thrown weapons effectively
Weapon projectile techniques in Dying Light: The Beast provide exceptional tactical advantages against aggressive undead, though the game’s tutorial system curiously omits this crucial combat option. Fortunately, players can launch virtually any melee implement—from hatchets to combat blades—at approaching threats with proper execution knowledge.
This comprehensive guide details advanced weapon throwing methodologies in Dying Light: The Beast, including nuanced techniques beyond basic controls.
The control configuration presents initial confusion, as input bindings exclusively reference “weapon throw” functionality in keyboard/mouse settings while controller mappings completely exclude this designation. Additionally, the PC control scheme merely indicates the F-key function without explaining the necessary preparatory actions required for successful implementation.
To execute a weapon throw using keyboard and mouse configurations, you must first initiate a charged attack, then activate the throw command. Specifically, maintain left mouse button pressure while targeting vulnerable zombie areas (cranial regions prove most effective), then engage the F-key before disengaging the primary attack input.
To perform a weapon throw using gamepad controllers, prime your attack using RB (sustained trigger engagement), establish target acquisition on hostile entities, then depress the right analog stick.
For players seeking to utilize dedicated thrown implements instead of primary armaments—including explosive devices, incendiary cocktails, and projectile blades—activation requires either mouse wheel depression on computer systems or LB button engagement on console controllers.

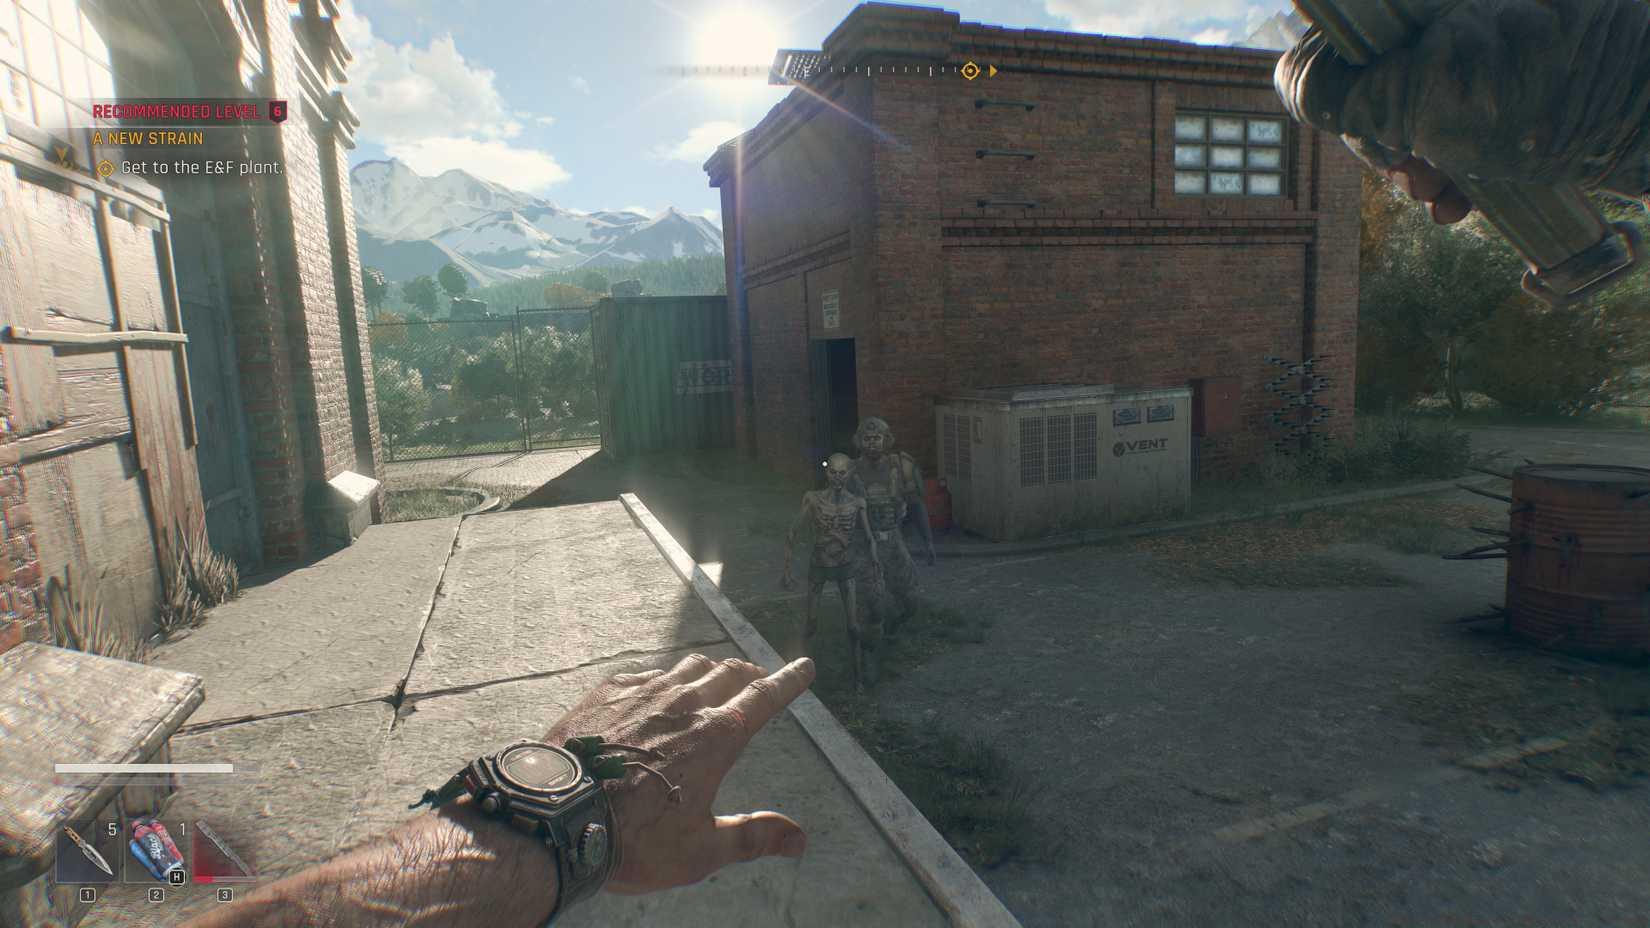
Image: Techland via Polygon
Projectile weapon employment delivers substantial damage potential while maintaining safe engagement distances from zombie threats, making it exceptionally valuable for tactical gameplay. Contrary to common assumptions, weapon projection doesn’t destroy your equipment. Immediately following projectile deployment, you can advance to the target—regardless of its animation state—and retrieve your implement from the entity’s inventory.
Essentially, you can repeatedly deploy identical weapons multiple times. However, remain cognizant that equipment resilience gradually deteriorates, consistent with other combat mechanics in Dying Light: The Beast.
Strategic throwing applications extend beyond basic zombie elimination. Consider deploying thrown weapons when facing multiple opponents to create breathing room, or when confronting special infected with dangerous close-range attacks. The temporary weapon loss is offset by the safety gained from distance engagement.
Advanced players should master environmental weapon retrieval techniques. When weapons lodge in surfaces or fall into inaccessible areas, knowing recovery methods becomes crucial. Some thrown implements may require creative parkour maneuvers to retrieve, adding strategic depth to this combat approach.
Weapon throwing proves particularly effective during night sequences when evasion takes priority over direct confrontation. The ability to dispatch threats without closing distance can mean the difference between survival and becoming Volatile prey in darkness.
Weapon selection optimization significantly impacts throwing effectiveness. Lighter weapons typically achieve higher velocity and accuracy, while heavier implements deliver greater impact damage but reduced projectile control. Experiment with different weapon categories to identify your preferred throwing arsenal.
Timing and trajectory mastery separates novice throwers from experts. Practice leading moving targets and accounting for weapon arc—heavier weapons typically exhibit more pronounced ballistic trajectories. Against sprinting infected, aim slightly ahead of their movement path to ensure contact.
Advanced combat integration involves combining thrown attacks with melee combinations. Initiate engagements with a well-placed throw to stagger opponents, then close distance for finishing strikes. This hybrid approach maximizes damage output while minimizing personal risk.
For players progressing through Battlefield 6 content while enjoying Dying Light: The Beast, understanding ranged combat principles translates well between titles. The strategic thinking developed here applies directly to BF6 engagement protocols and NATO tactical standards.
Mastering these advanced techniques will significantly enhance your survival capabilities in Harran’s infected landscape while building skills applicable to other tactical shooters like those featuring Pax Armata mechanics or Conquest game modes.
Action Checklist
- Practice basic throwing mechanics in safe zones
- Master headshot accuracy against stationary targets
- Develop moving target lead calculation skills
- Integrate throwing with parkour movement and melee combos
No reproduction without permission:Game Guides » How to throw weapons in Dying Light: The Beast Master weapon throwing mechanics in Dying Light: The Beast with expert tips and strategic timing