TL;DR
- Dark Shrine maps feature deliberately confusing layouts that require spatial memory mastery
- Item placement dynamically adjusts based on player damage taken and difficulty settings
- Corridor sections demand strategic enemy engagement and hokora checkpoint utilization
- Worship Hall puzzle doors use color-coding systems for efficient path planning
- Main Hall combines intense combat with crucial offering enshrinement mechanics
Your guiding light through darkness (shrine navigation)
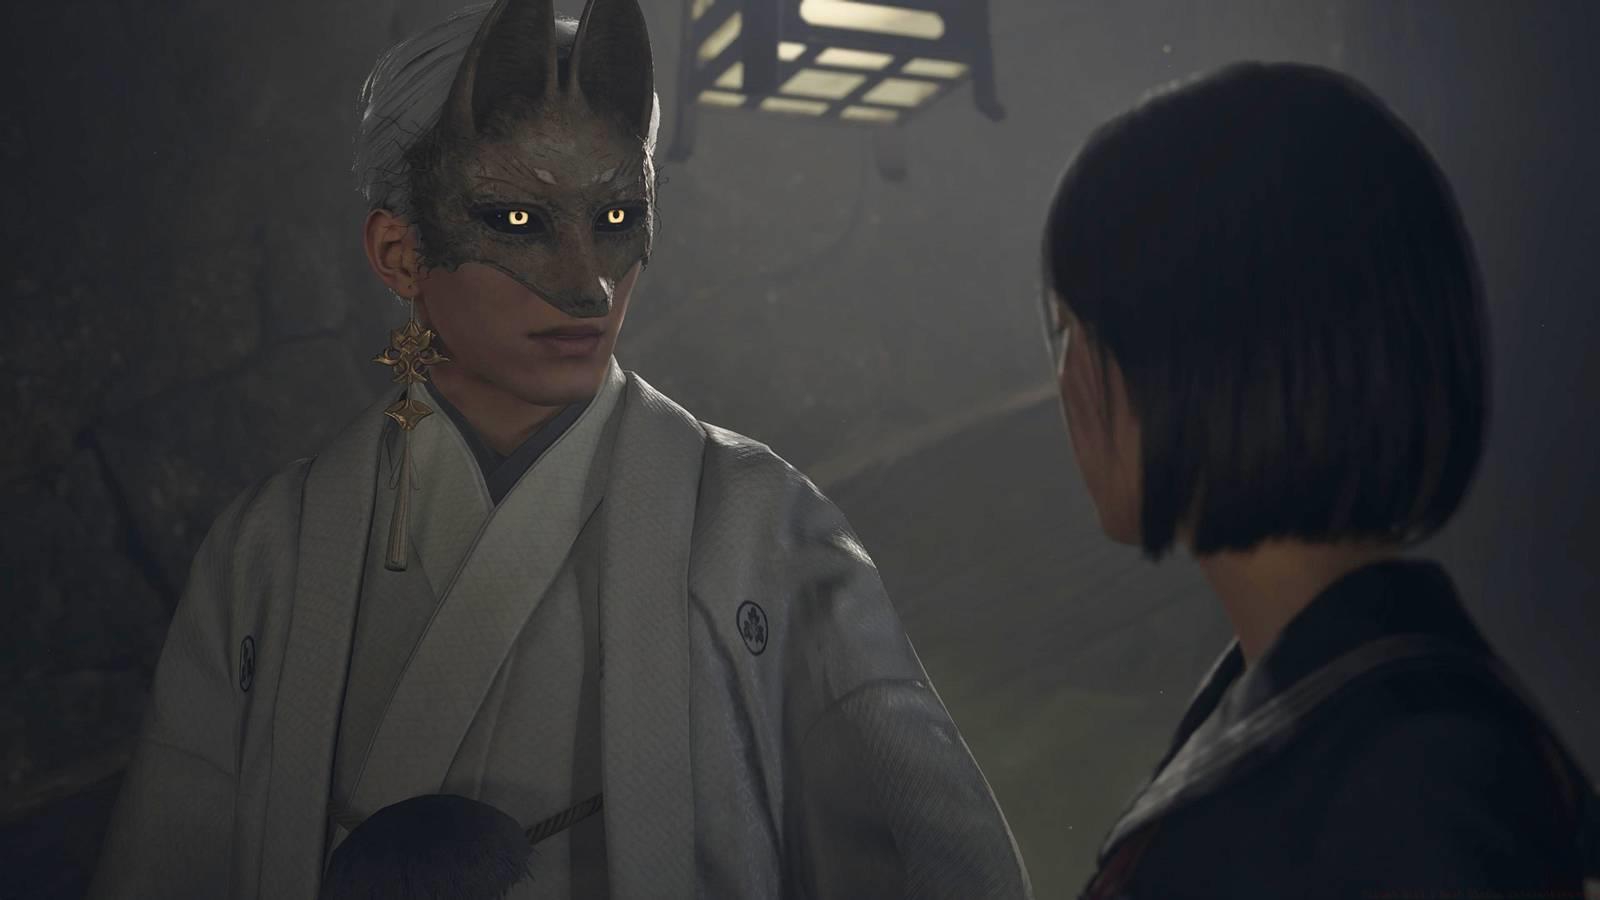
Silent Hill f‘s Dark Shrine cartography presents intentionally misleading simplicity. While appearing compact and straightforward initially, these labyrinthine environments prove exceptionally challenging to traverse. The winding passages overflow with hostile creatures and environmental obstacles, yet simultaneously contain vital resources and narrative documents that progressively reveal Silent Hill f‘s underlying storyline.
Examine our comprehensive Silent Hill f cartographic guides covering the Dark Shrine’s external approaches, transitional spaces, and interior chambers. Healing item distribution demonstrates adaptive behavior influenced by gameplay approach and selected challenge level. Through extensive playtesting, we documented that medical supplies manifest more frequently when players sustain regular combat injuries. The resources illustrated in our guides maintain consistent appearance regardless of playstyle, though you may discover additional bandages or analgesics based on situational factors.
Our coverage extends to Ebisugaoka and peripheral regions surrounding the Dark Shrine complex.
The Shrine Path’s apparent linearity disguises its convoluted route network, particularly challenging during limited visibility conditions. Rapid environmental familiarization becomes essential, as completing the shrine vault puzzle triggers Silent Hill f‘s intense pursuit sequence that demands flawless navigation under pressure.
Pro Tip: Practice the shrine path route multiple times before attempting the vault puzzle. The chase sequence leaves no room for navigational hesitation, and knowing exactly when to turn can mean the difference between survival and capture. Consider mapping the path mentally using distinctive environmental markers rather than relying on memory alone.
The term “Corridor” suggests simplicity, but this Dark Shrine segment delivers anything except straightforward progression. Multiple secured chambers and circuitous alternate routes introduce players to previously unencountered adversaries. Strategically returning to adjacent hokora after eliminating threats prevents combat repetition if situations deteriorate. This area perfectly exemplifies our earlier recommendation about corner inspection from the Silent Hill f beginner’s manual—here, vigilant perimeter checking becomes absolutely essential.
Advanced Strategy: Enemy respawn rates in the Corridor section follow specific triggers rather than timed intervals. Clearing rooms in a particular sequence can minimize backtracking through repopulated areas. The hokora checkpoints not only save progress but also reset certain enemy patterns when utilized strategically between engagements.
The Worship Hall comprises constricted chambers and connecting passageways saturated with enemies and puzzle-activated doorways. Meticulous attention to each door’s chromatic coding enables efficient route planning and accelerated egress. Thorough documentation collection remains crucial, as these notes and fragments prove fundamental to comprehending Hinako’s recollective experiences.
Color Code Decryption: The Worship Hall’s door system operates on a logical color pattern that, when decoded, reveals the most efficient path through the area. Red doors typically indicate combat challenges, blue doors contain puzzle elements, and green doors often lead to resource caches. Understanding this system can reduce your traversal time by up to 40% compared to random exploration.
The Main Hall presents heightened activity levels and substantially increased combat encounters compared to other Dark Shrine regions. Maximize your inventory capacity with restorative items, and ensure complete enshrinement of all discovered offerings to advance narrative progression and unlock hidden content.
Combat Preparation: The Main Hall’s enemy density peaks approximately halfway through the area, making resource conservation prior to this point critical. Offering enshrinement isn’t merely narrative progression—certain offerings provide permanent stat boosts or unlock special items when placed correctly. The specific arrangement of offerings can influence which bonus rewards you receive upon completion.
Action Checklist
- Memorize Shrine Path route before vault puzzle
- Utilize hokora checkpoints after each major enemy encounter
- Document door color patterns in Worship Hall
- Collect and enshrine all offerings in Main Hall
- Stockpile healing items before Main Hall combat peak
No reproduction without permission:Game Guides » Silent Hill f Dark Shrine interactive maps Master Silent Hill f's Dark Shrine maps with expert navigation strategies and survival tactics