TL;DR
- Complete two interconnected quests in Nayoro Wilds region for valuable charm rewards
- Investigate Ikidomari Grove camp and Meiro Caves to uncover the mystery behind multiple deaths
- Obtain Charm of Unhealthy Resolve and Charm of Risk and Reward with unique combat benefits
- Use stealth and ranged tactics in cave sections to handle multiple ronin efficiently
- Follow the Kitsune questline to unlock access to this northern region of Ezo
Mastering the dual questline of The Face of a Master and The Face of a Demon in Ghost of Yōtei provides players with essential gear and deepens the game’s narrative. These interconnected missions explore the tragic fate of a group of warriors while offering valuable gameplay rewards that can significantly enhance your combat capabilities.
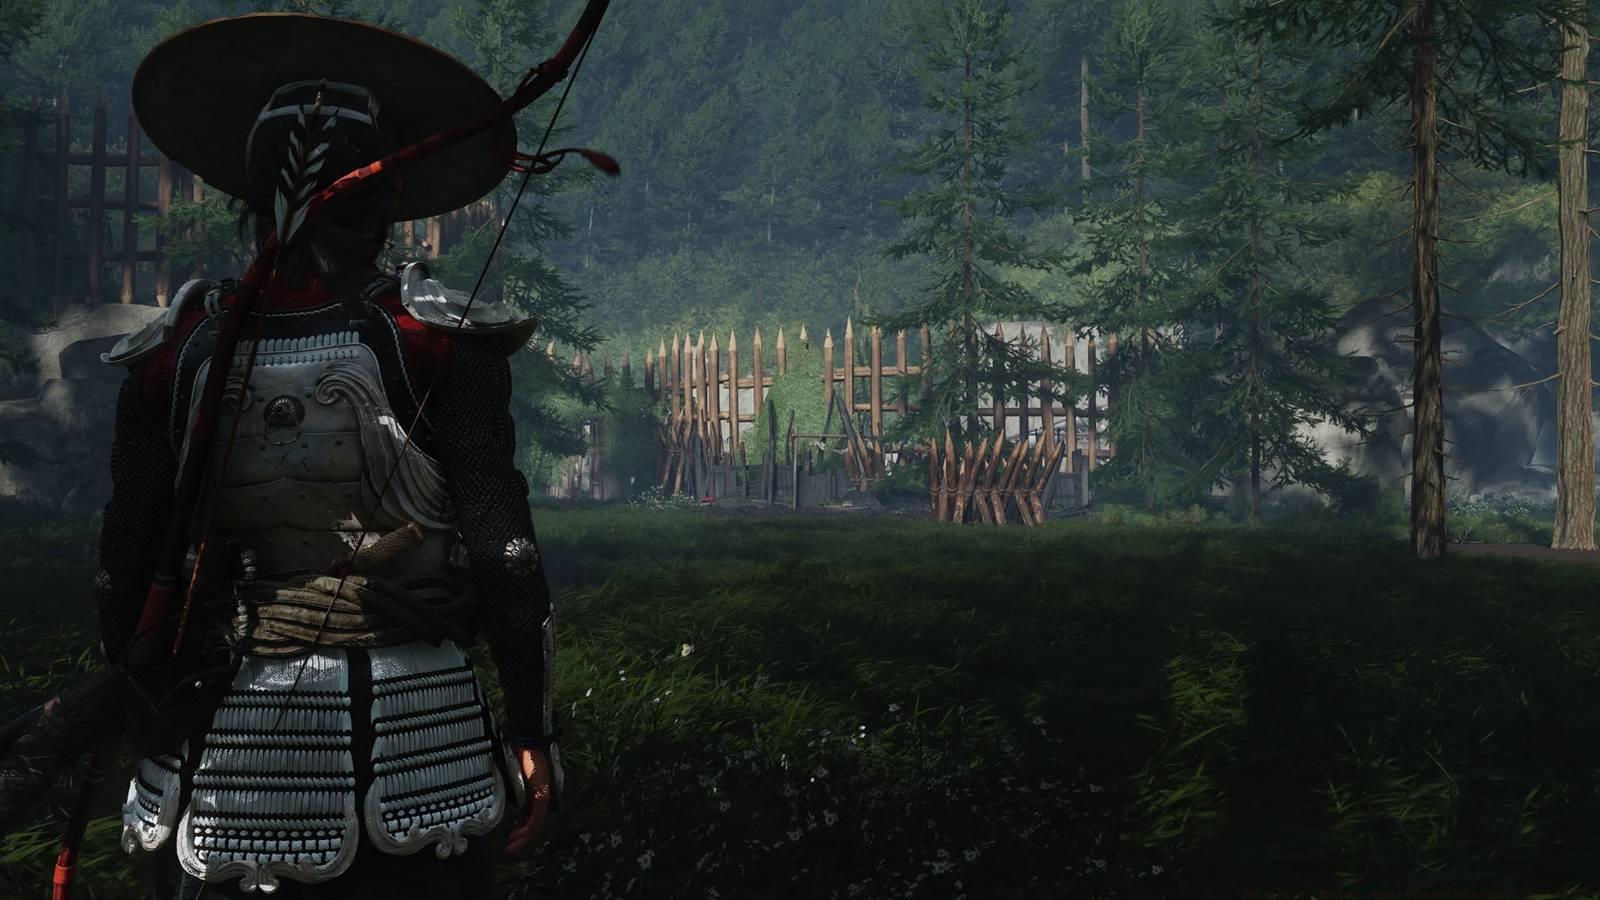
To begin this quest chain, you must first reach the Nayoro Wilds region located north of the Tokachi Range. Access requires progressing through the Kitsune storyline, which serves as your gateway to this northern territory. Many players underestimate the importance of completing prerequisite missions, so ensure you’ve advanced sufficiently in the main narrative before attempting these side quests.
Graphic: Paulo Kawanishi/Polygon | Source images: Sucker Punch Productions/Sony Interactive Entertainment
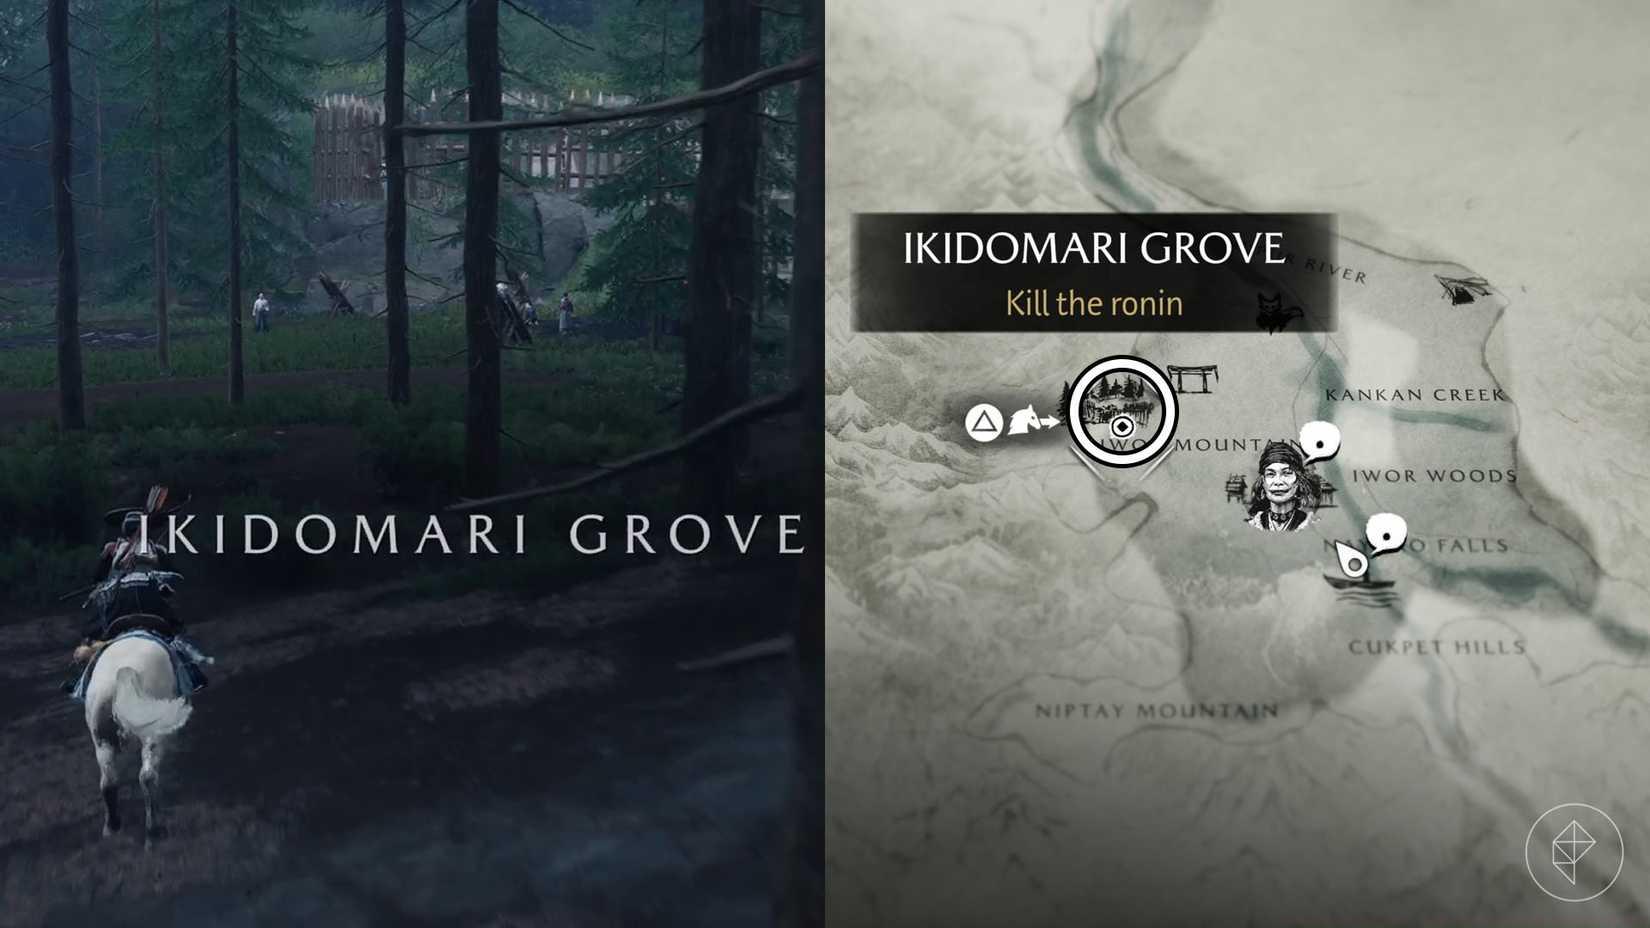
Navigate to the Ikidomari Grove camp situated north of Iwori Mountain. As you approach this location, the quest automatically activates in your journal. You’ll encounter several ronin guarding a wooden gate—defeat them efficiently using counter-attacks and perfect parries. After clearing the initial resistance, locate and free the captive healer who provides crucial assistance throughout your investigation.
Inside the camp, conduct a thorough investigation by examining three key pieces of evidence: the body impaled by a spear, a bucket containing medical bandages, and a nearby chest holding a scroll detailing “The Curse of Kanemori.” This document reveals the supernatural elements behind the tragedy and provides context for subsequent events.
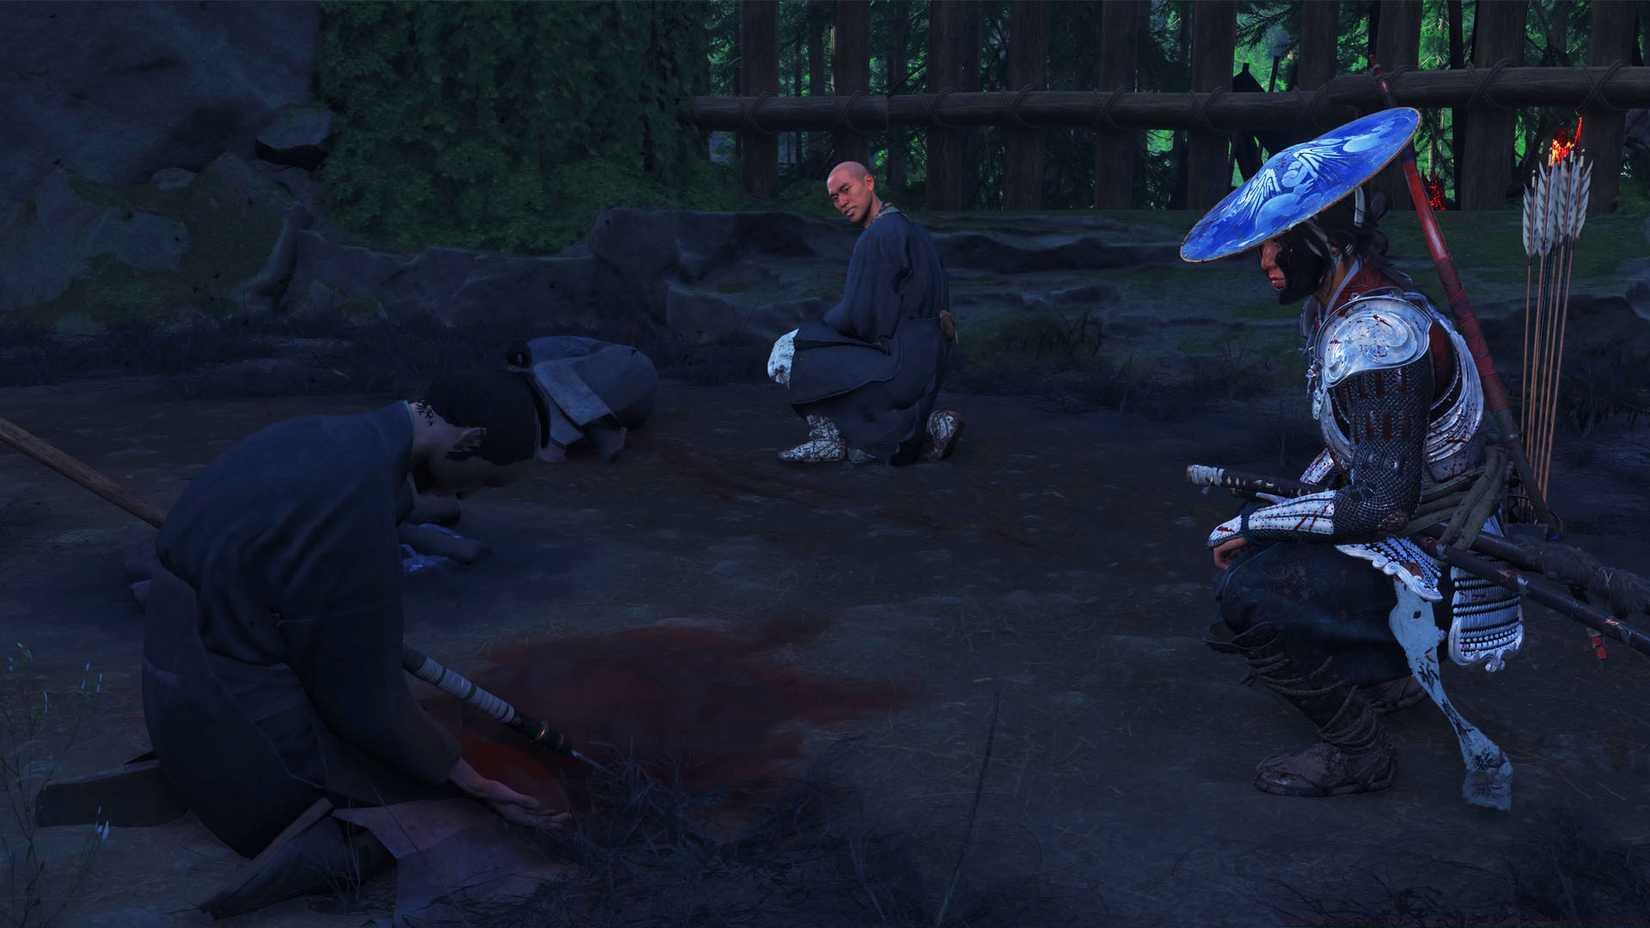
Image: Sucker Punch Productions/Sony Interactive Entertainment via Polygon
After studying the scroll, the healer guides you to a blocked passageway. Use explosives to clear the rock obstruction, then read the inscription on the revealed wall. Assist your companion over the adjacent barrier and search the destroyed structure in the next area to discover another scroll. This document indicates surviving members traveled to the caves at Nayoro Wilds’ edge, setting up the subsequent quest.
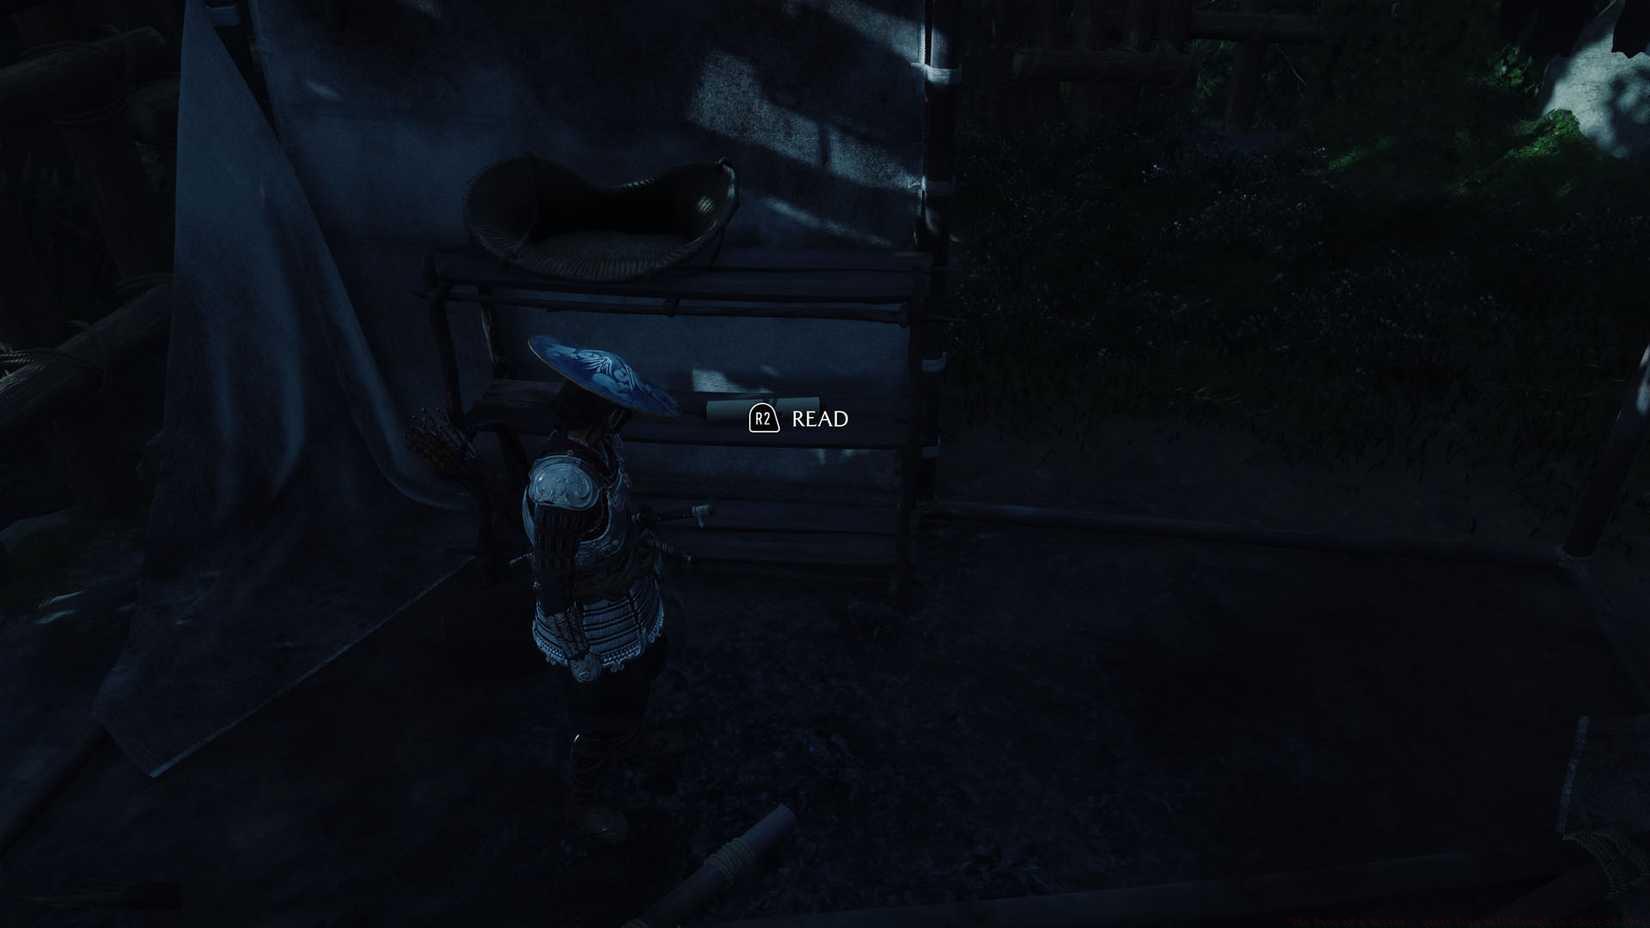
Image: Sucker Punch Productions/Sony Interactive Entertainment via Polygon
Completing The Face of a Master quest unlocks its sequel while rewarding you with the Charm of Unhealthy Resolve. This unique item provides spirit regeneration upon defeating enemies at the cost of reduced maximum health—a strategic trade-off that benefits aggressive playstyles focused on constant offense.
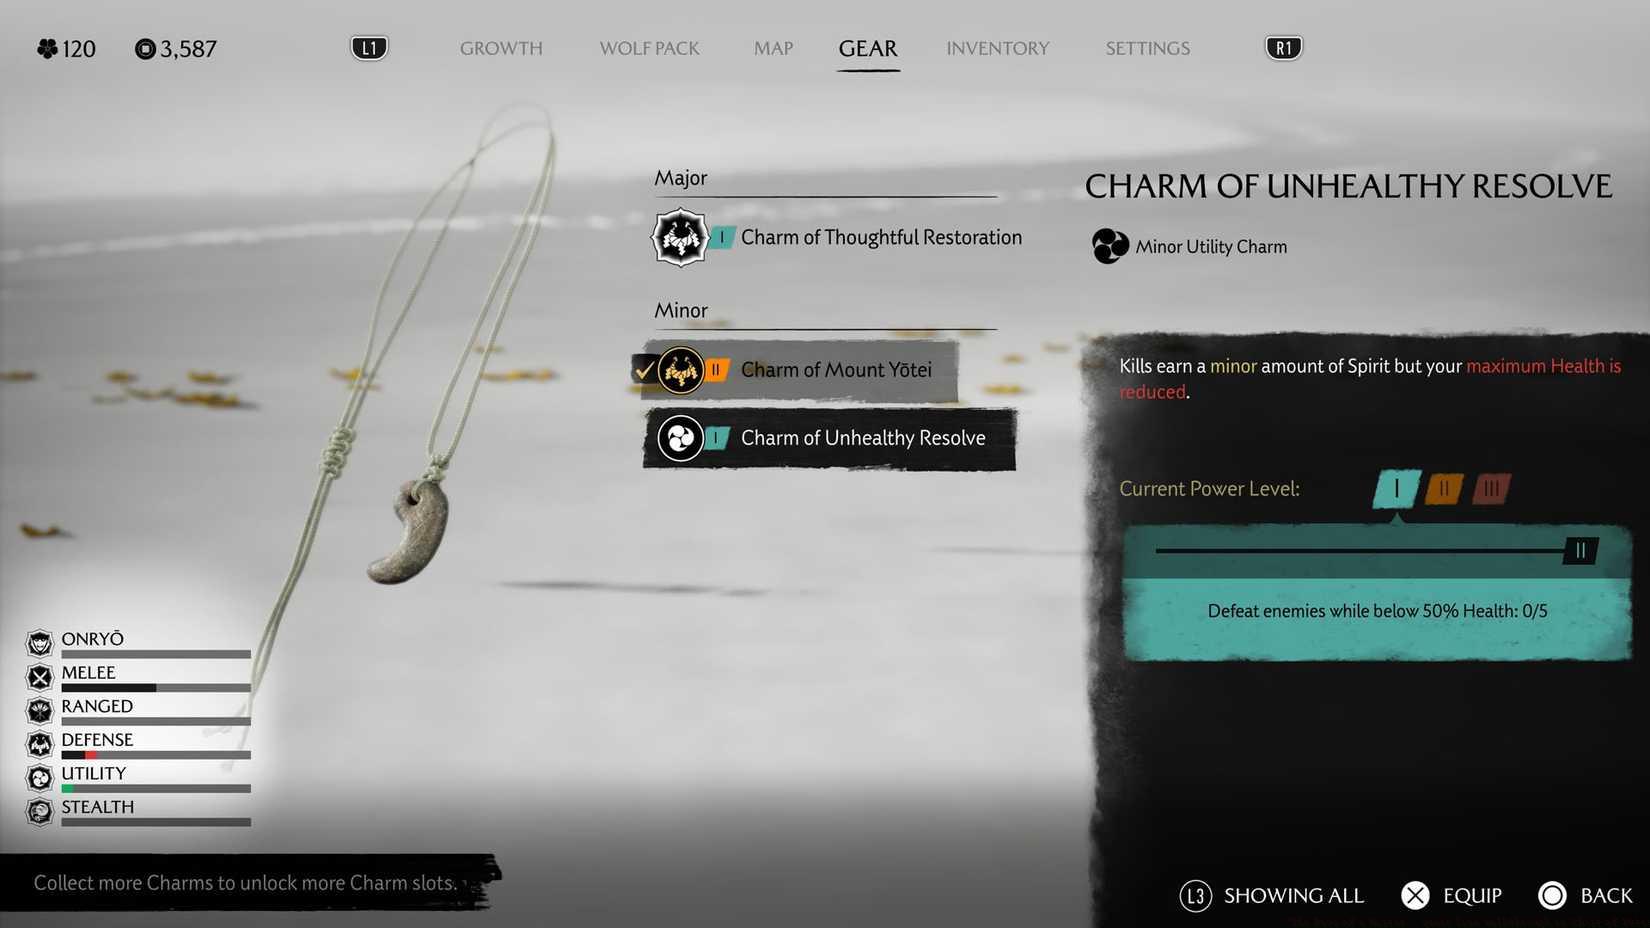
Image: Sucker Punch Productions/Sony Interactive Entertainment via Polygon
Journey northeast from Kankan Creek to locate the Meiro Caves, where the mystery reaches its conclusion. Before entering, you must defeat a substantial group of ronin guarding the entrance. Utilize environmental advantages and stealth takedowns to thin their numbers before engaging in direct combat.

Graphic: Paulo Kawanishi/Polygon | Source images: Sucker Punch Productions/Sony Interactive Entertainment
Inside the caves, follow the linear path until reaching a chamber containing additional ronin forces. These enemies maintain passive behavior until provoked, allowing strategic positioning and ranged elimination. Employ your bow to dispatch multiple targets before they become aggressive—this tactical approach significantly reduces combat difficulty.
After neutralizing all hostiles, examine the abandoned armor resting on the ground to complete your investigation and finish The Face of a Demon quest. This action concludes the narrative arc while granting the Charm of Risk and Reward, which offers different combat advantages compared to the previous charm.

Image: Sucker Punch Productions/Sony Interactive Entertainment via Polygon
The Charm of Unhealthy Resolve represents a high-risk, high-reward equipment choice perfect for players who maintain offensive pressure. By sacrificing a portion of your maximum health, you gain consistent spirit regeneration with each enemy defeat. This mechanic synergizes exceptionally well with aggressive combat builds that prioritize ability usage over defensive capabilities.
Meanwhile, the Charm of Risk and Reward offers complementary benefits that can create powerful build combinations when used together. Understanding how these charms interact with your chosen playstyle is crucial for maximizing their effectiveness throughout your Ghost of Yōtei journey.
These quests typically require 20-30 minutes to complete when following an efficient route. Beginners should allocate additional time for combat encounters and exploration. The narrative payoff provides deeper insight into Ezo’s history while the practical rewards deliver tangible gameplay advantages that remain relevant through later game stages.
For players seeking to optimize their character development, understanding charm synergies becomes essential. Consider checking our Class Guide to learn how different playstyles can benefit from these unique items.
Action Checklist
- Reach Nayoro Wilds via Kitsune quest progression
- Clear ronin at Ikidomari Grove and rescue the healer
- Investigate all three evidence points in the camp
- Follow healer to caves and obtain Charm of Unhealthy Resolve
- Defend ronin at Meiro Caves and complete investigation
No reproduction without permission:Game Guides » ‘The Face of a Master’ quest line walkthrough in Ghost of Yōtei Complete walkthrough for The Face of a Master and The Face of a Demon quests with strategic tips and reward analysis